Since its inception in the 1970s, many different types of Lolita fashion have developed, all of them using the basic format of the culture as a starting point and going in many different derections.
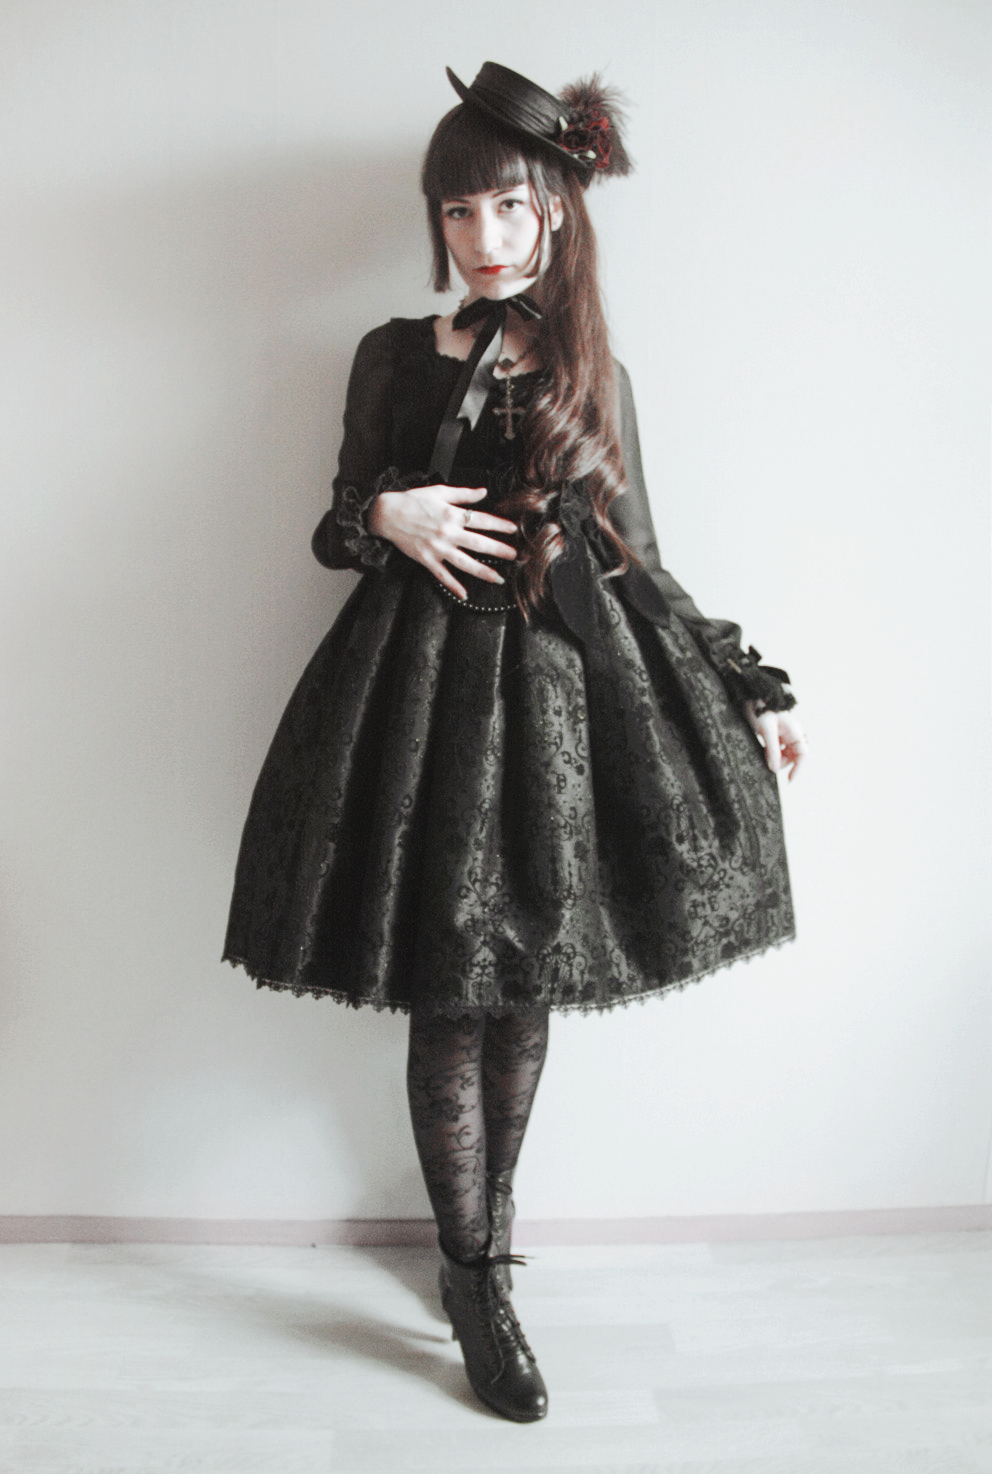
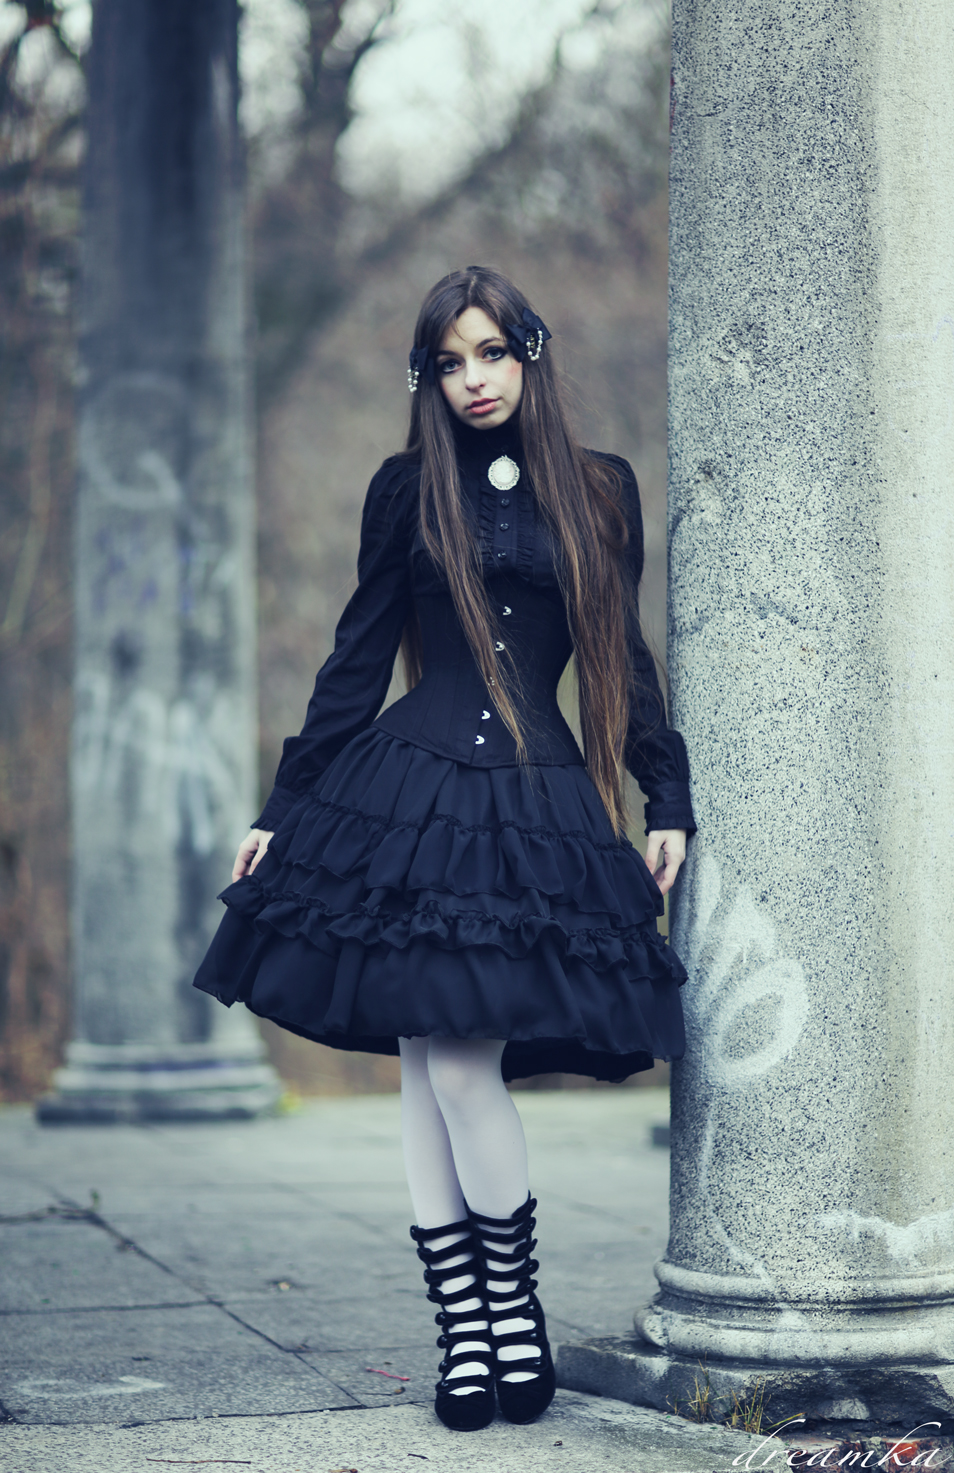
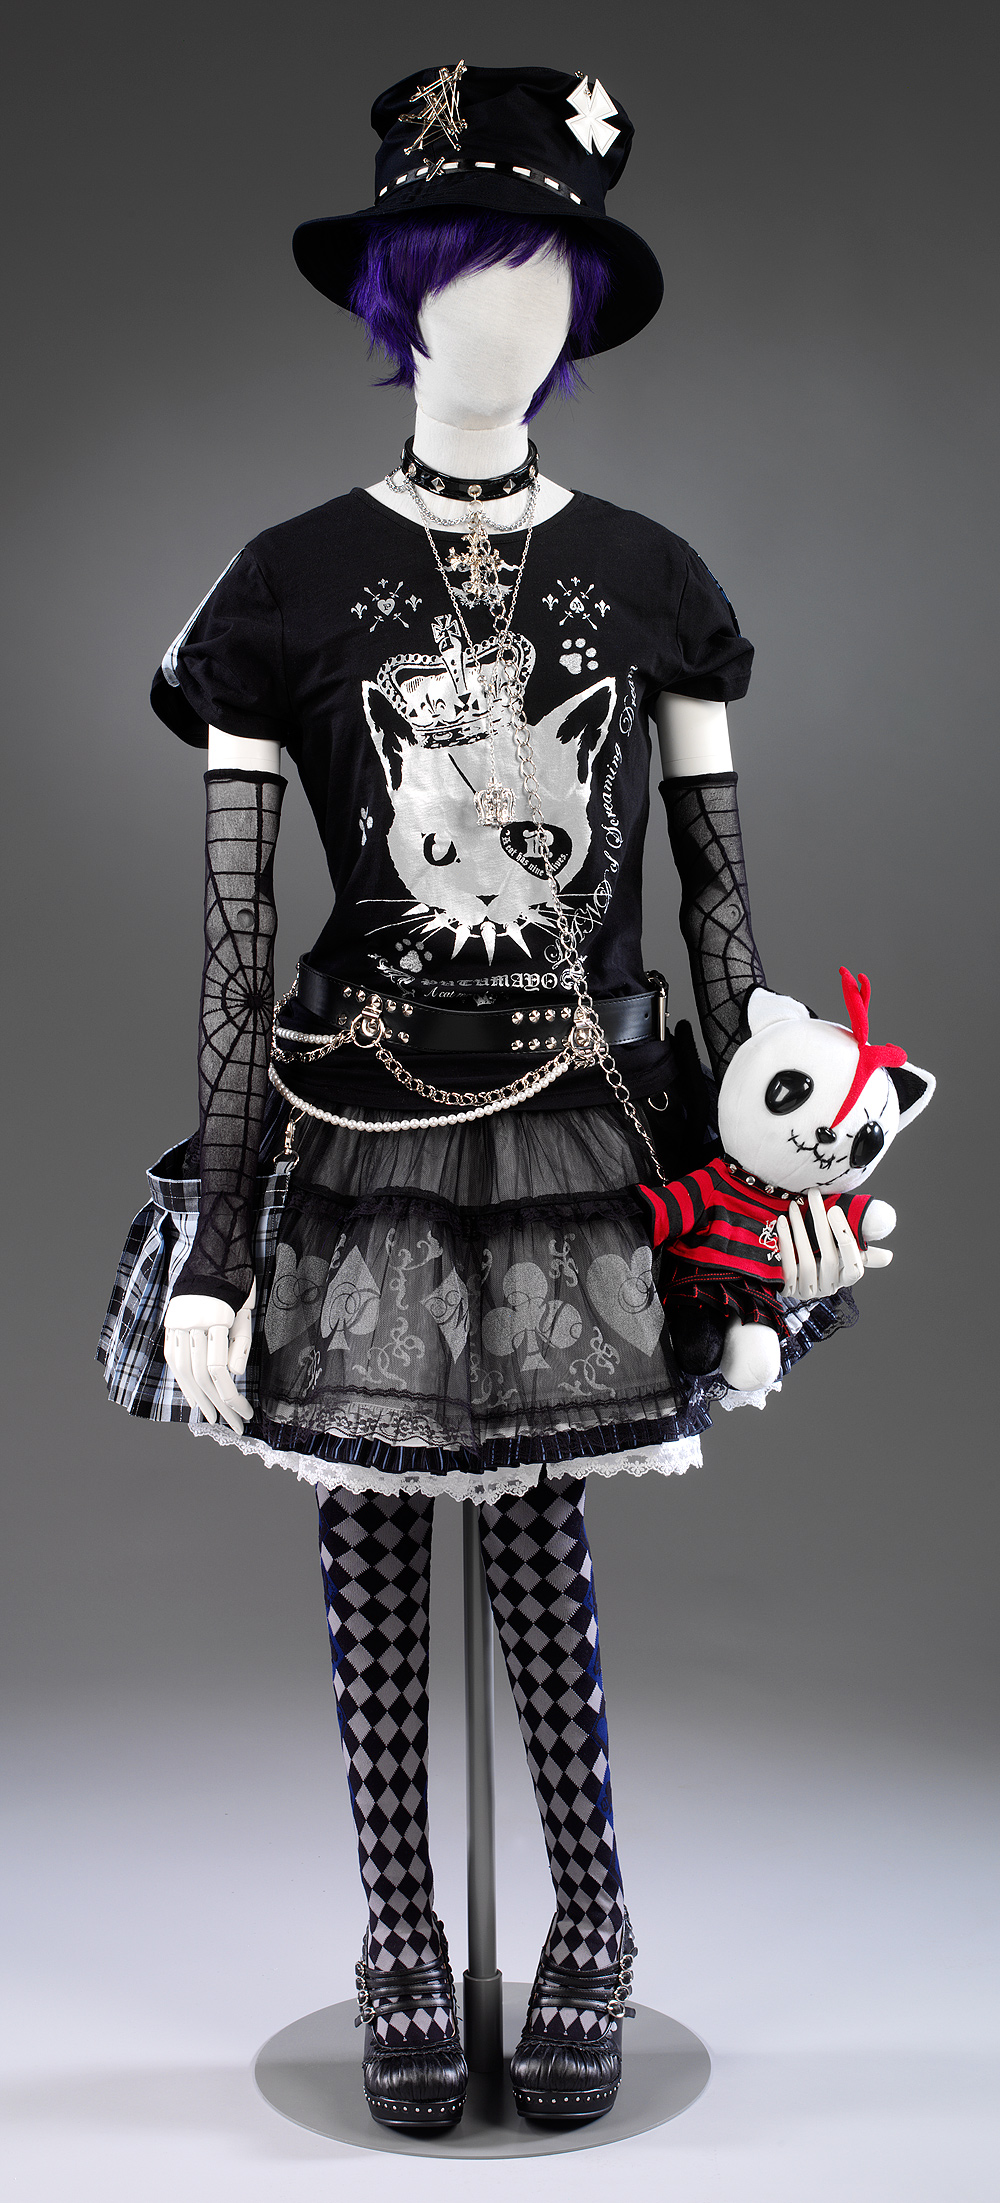
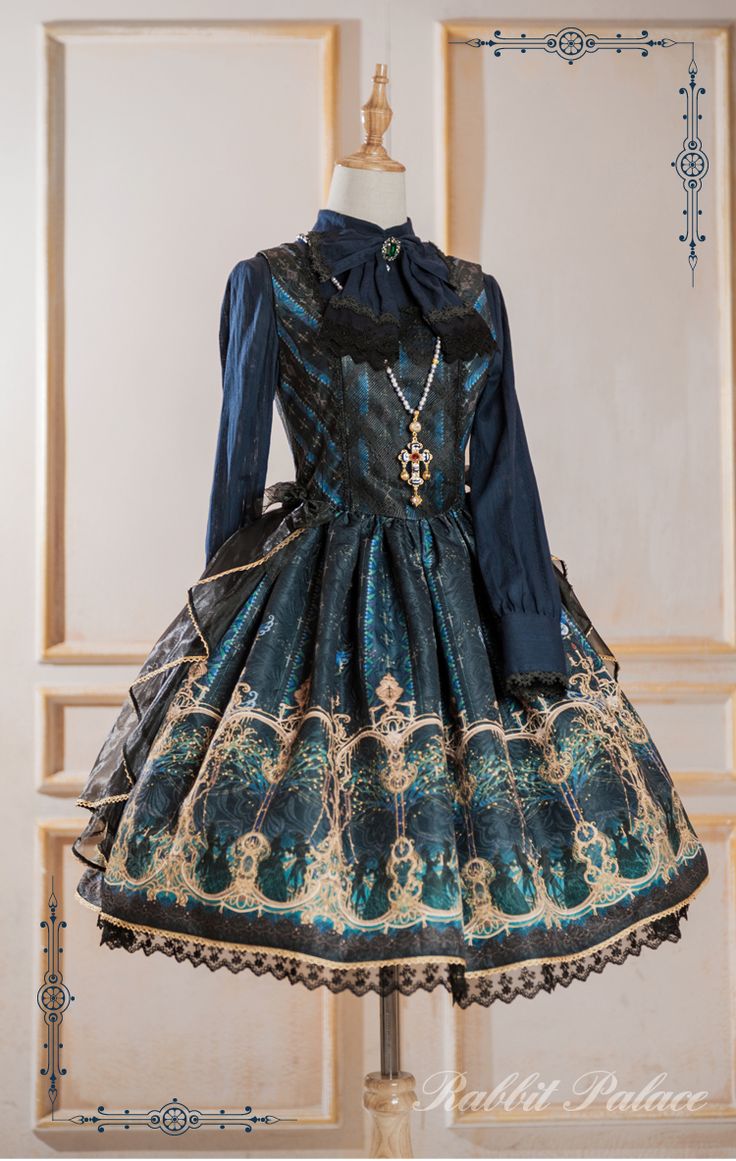
Gothic Lolita
In Japan called gothloli, Gothic Lolita fashion is a hybrid of the gothic style that was founded in the 1980s in response to the New Wave movement in Britain and the classic Lolita style developed in the 1970s. Gothic Lolita culture in Japan is different from other countries. In Japan, it combines with Lolita Style, utilizing the dark makeup and clothing of the former but maintaining the cuteness of the latter. Their darker makeup styles often combine with lighter colors to keep appearances true to roots but light. Color schemes are often black, dark blue, and other dark colors while white is used liberally to contrast the darkness. Religious symbols such as crosses and ankhs are used liberally as well as coffins and bats with both clothing and accessories.
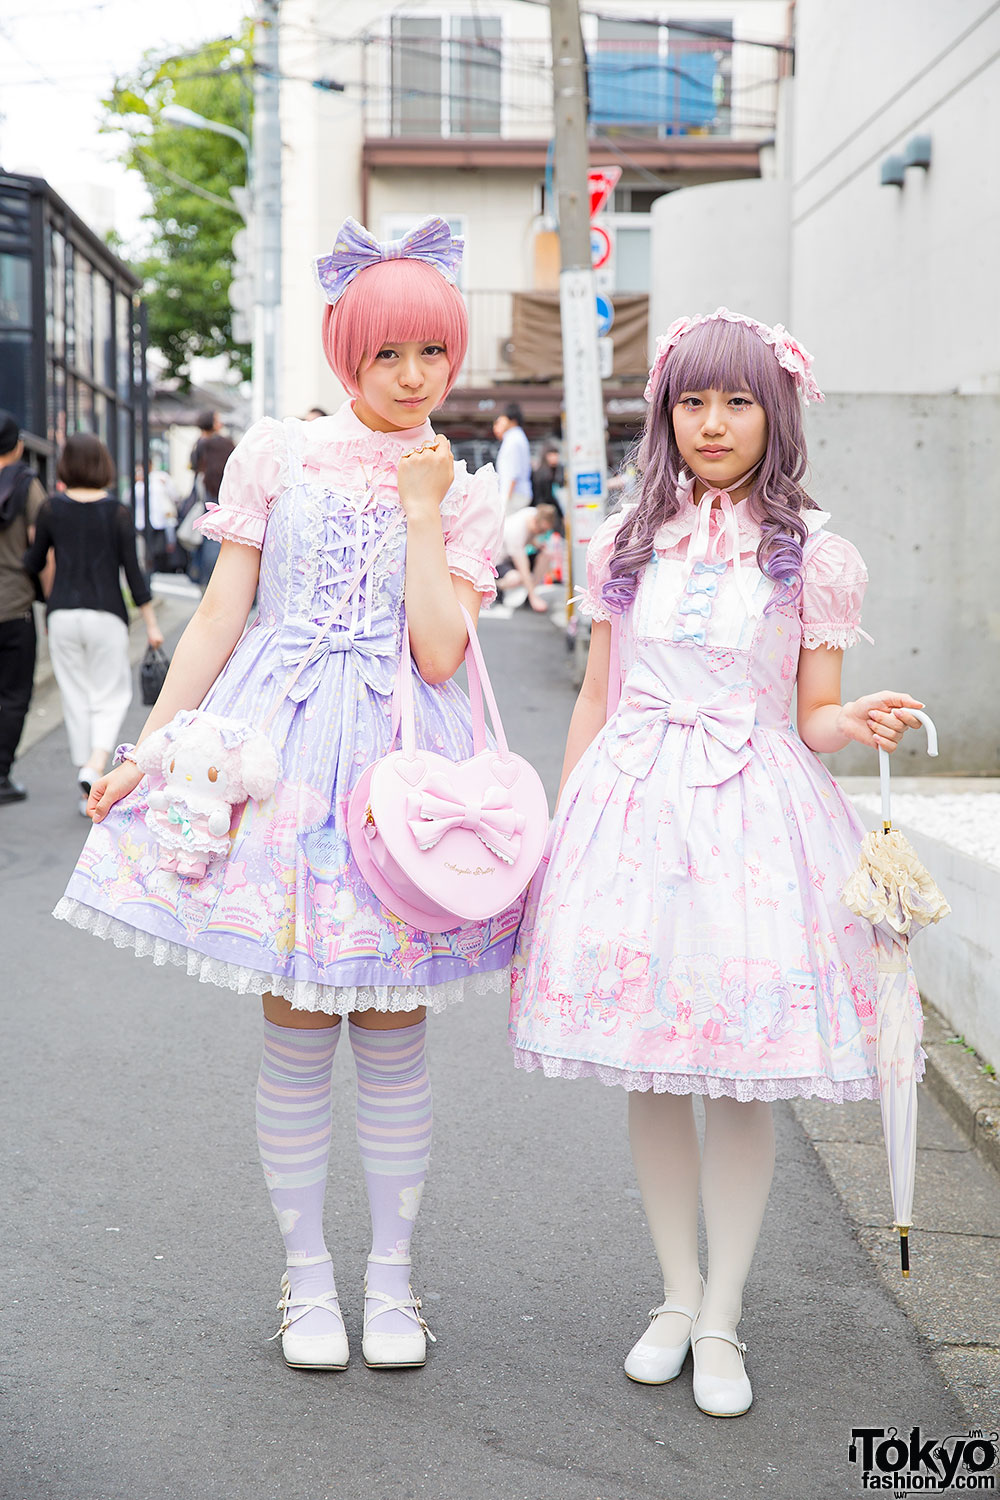
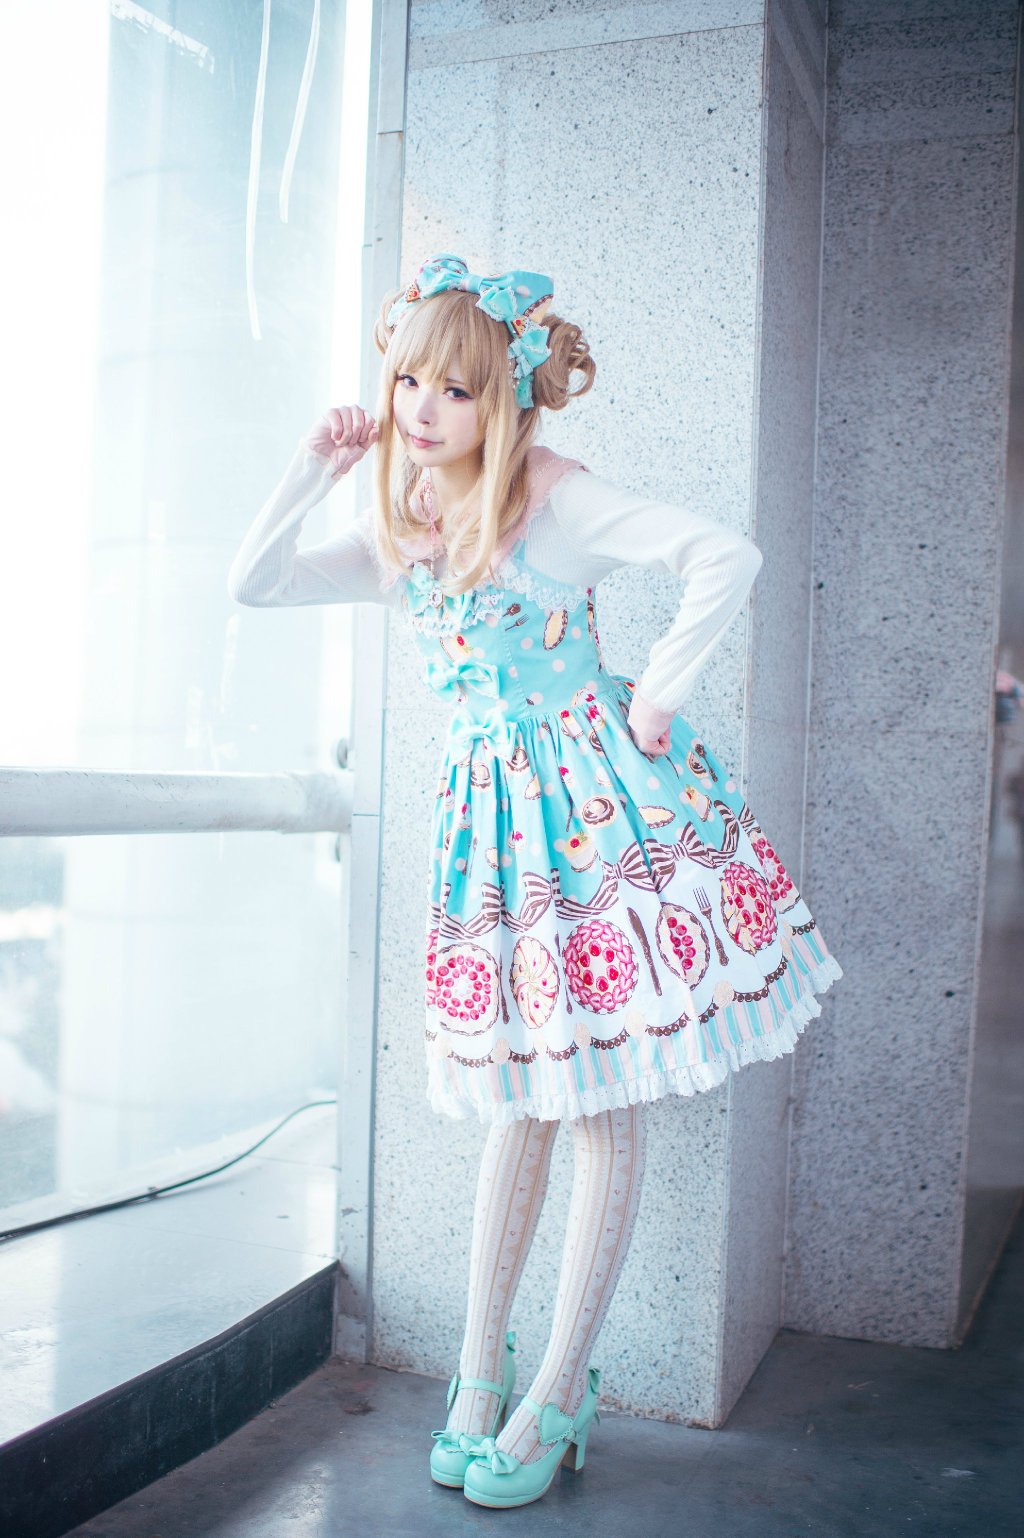
Sweet Lolita
Sweet Lolita utilizes and manga as its influences. It combines the childlike fantasy aspects of the sub-culture into light colors, billowy clothing, and pastel. Makeup often emulates the color and tone of a doll. Common aspects of Sweet Lolita fashion includes colorful prints, ribbons, and lace in clothing, multiple Alice in Wonderland references, cake, and a lot of fruit prints and references. Jewelry is often themed after fantasy motifs with stuffed animals, hearts, and card symbols (from Alice in Wonderland), alongside plenty of bows and ribbons in hair.
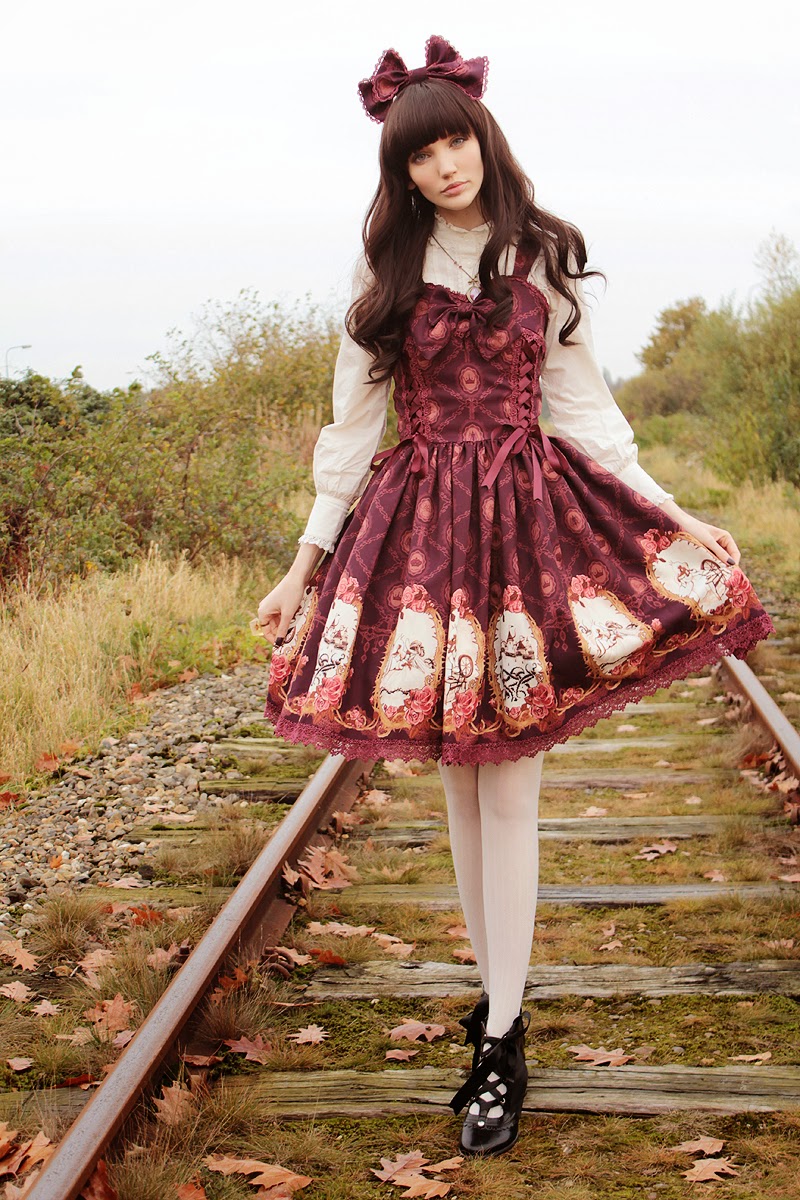
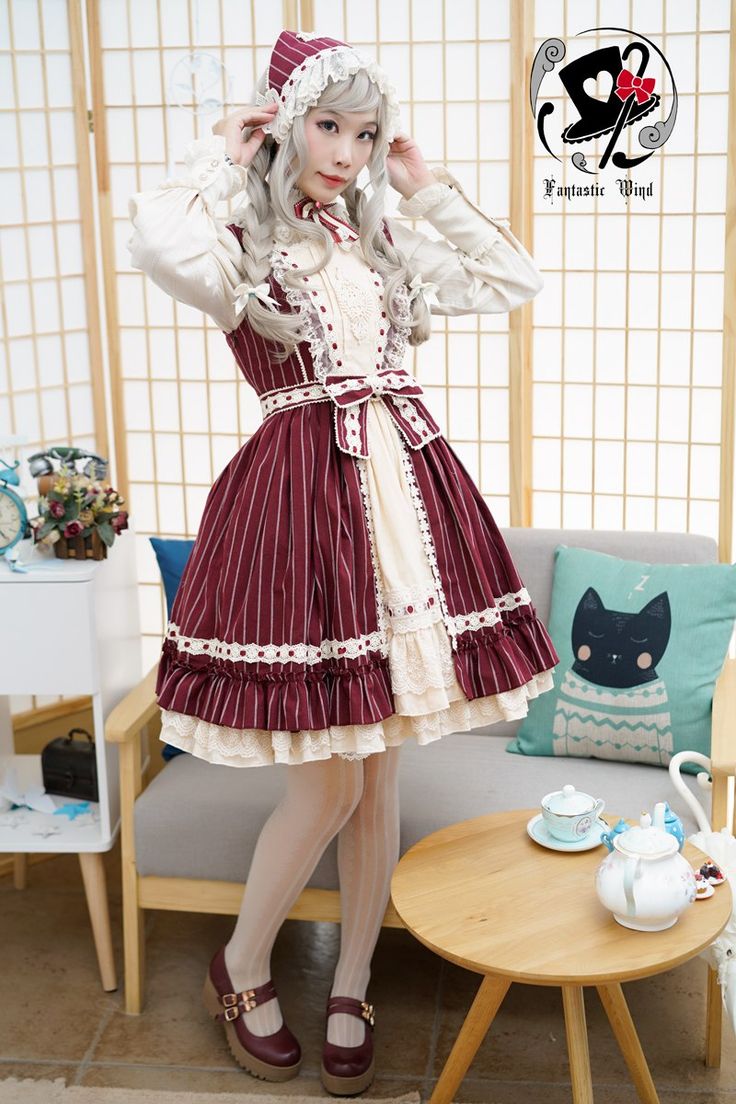
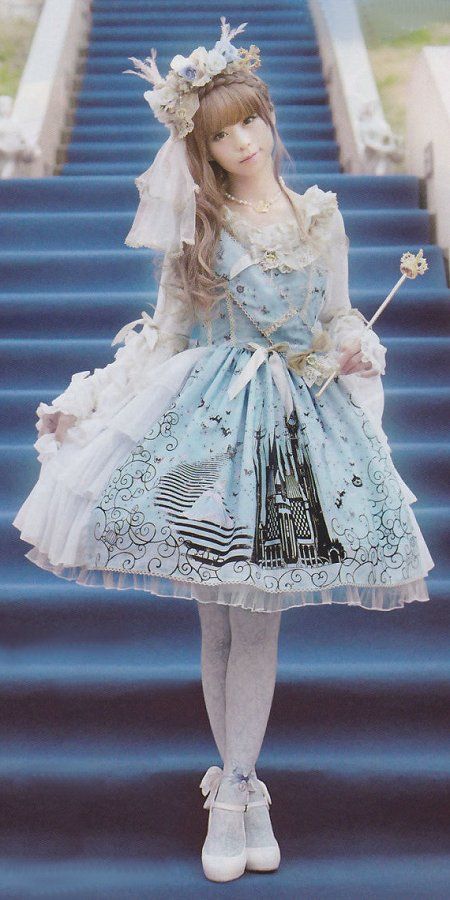
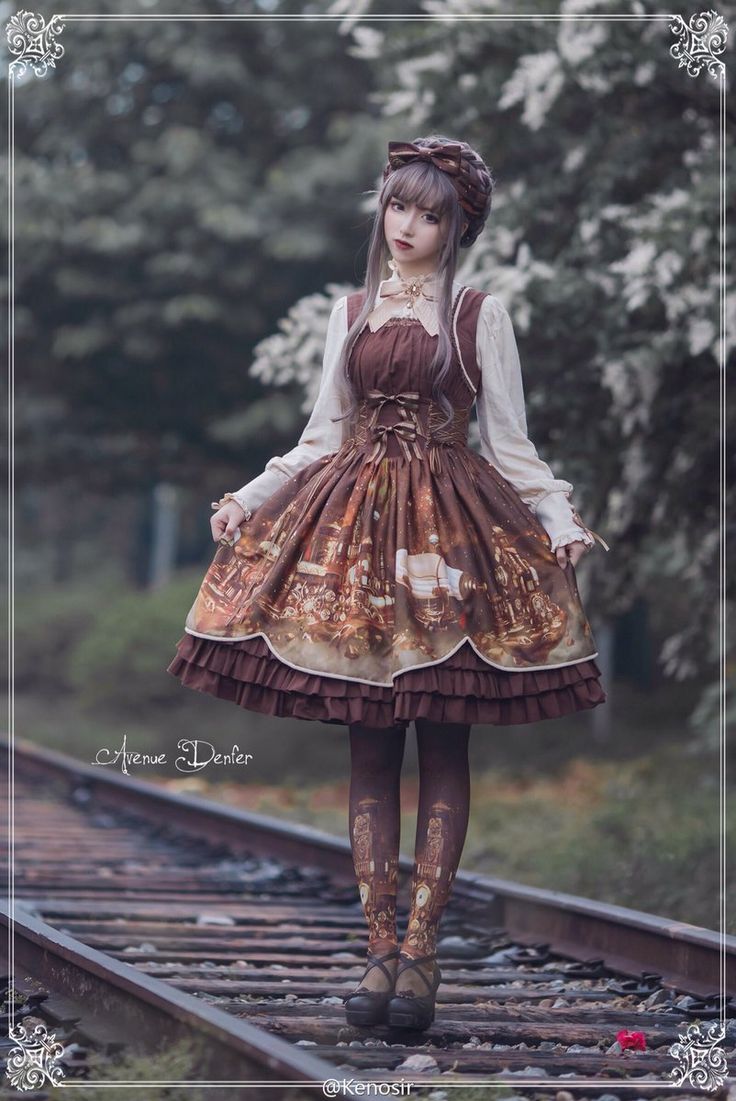
Classic Lolita
The classic Lolita look focuses more intently on mature use of 18th and 19th century dress with small, intricate patterns, muted color, and lighter colors in the clothing. The dresses will often use an empire waist while the shoes and accessories are more practical and true to historical counterparts. Makeup is more muted with natural colors and simmer dresses emphasize natural silhouettes.
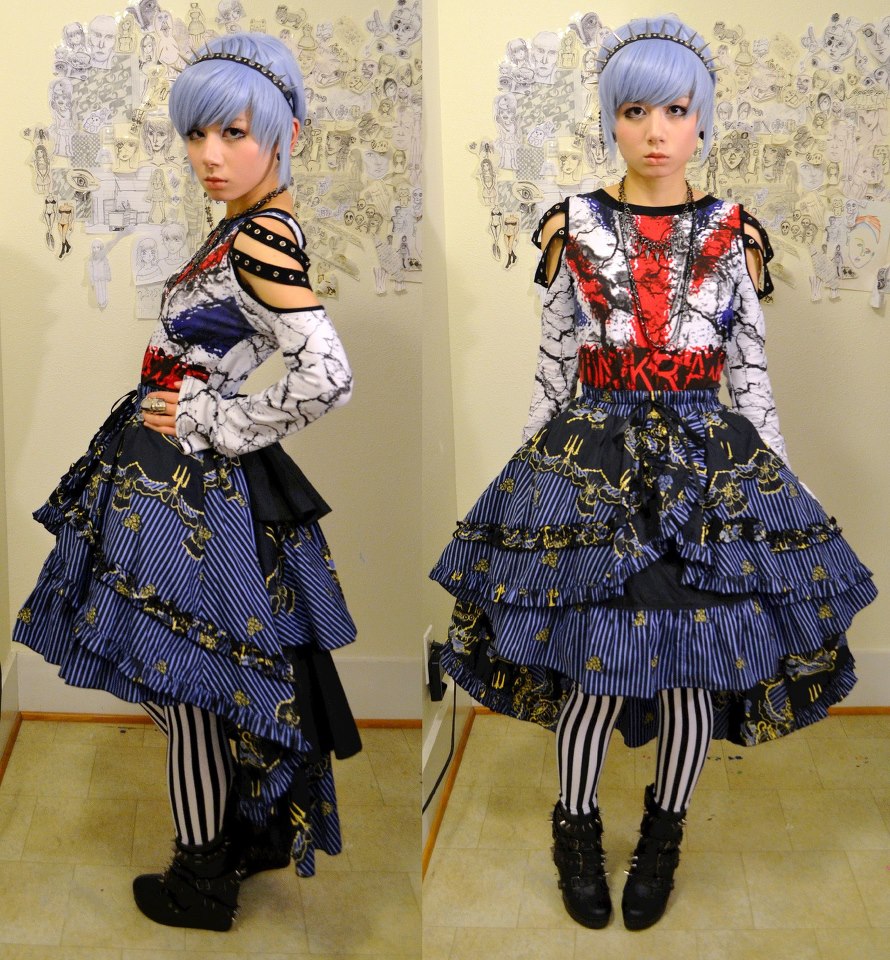
Punk Lolita
The combination of punk fashion to Lolita is relatively new and involves a wide array of different brands and styles. Generally, this hybrid includes the use of punk patterns, safety pins and chains, screen printing, and short hairstyles while still maintaining the basic elements of Lolita fashion such as the dress and blouses. Boots are generally added to the mix along with jumper skirts.
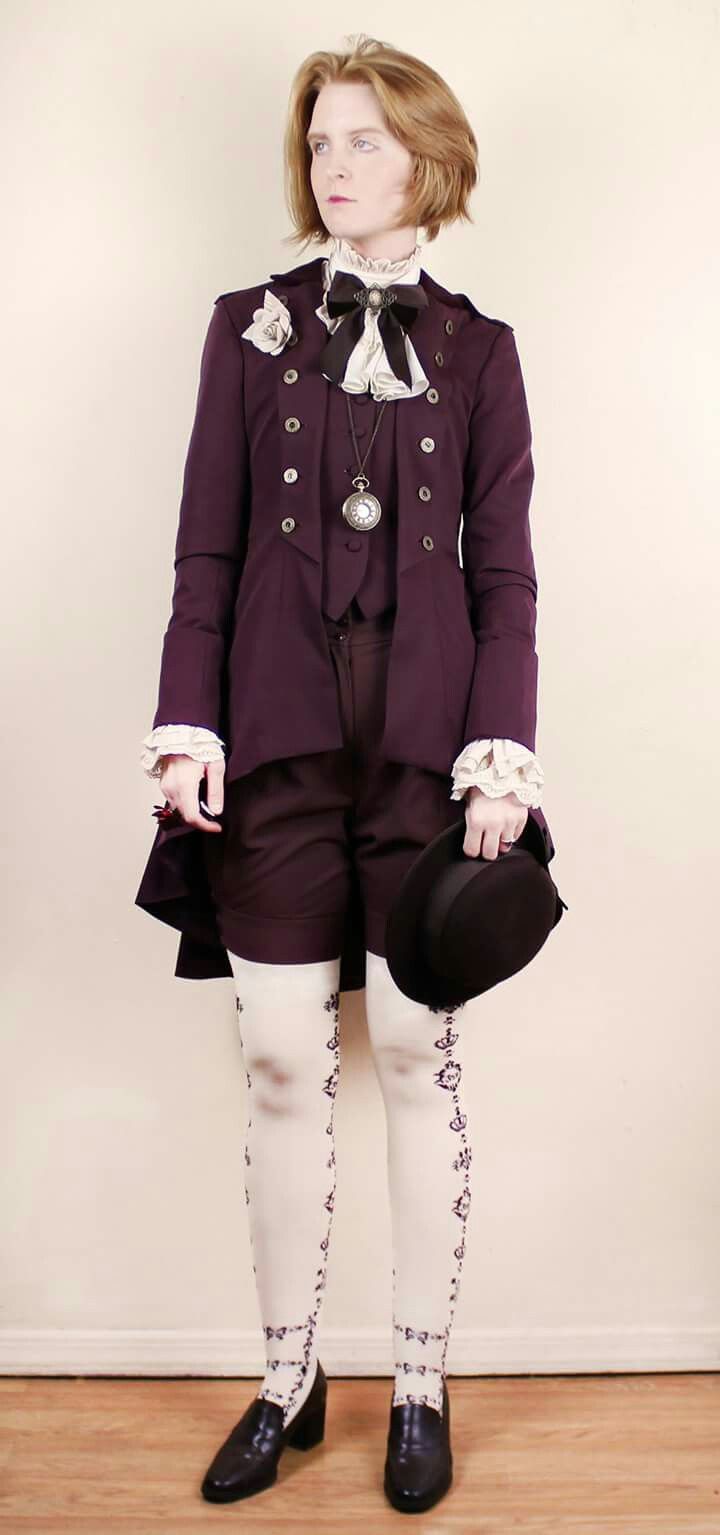
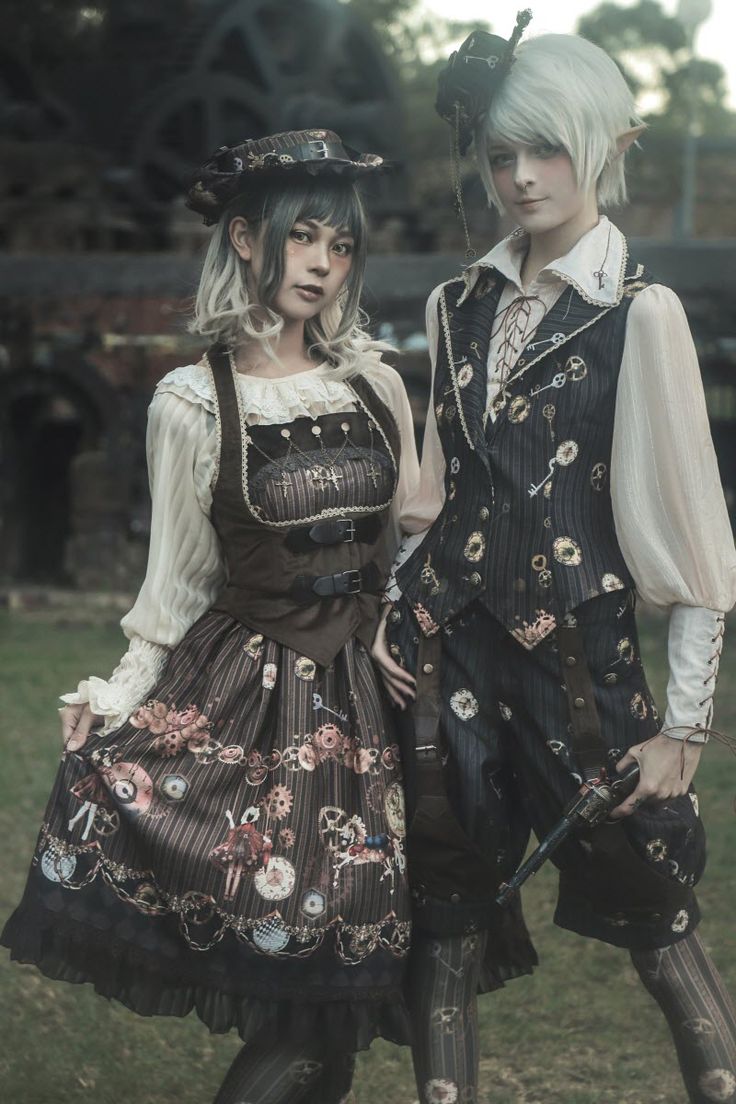
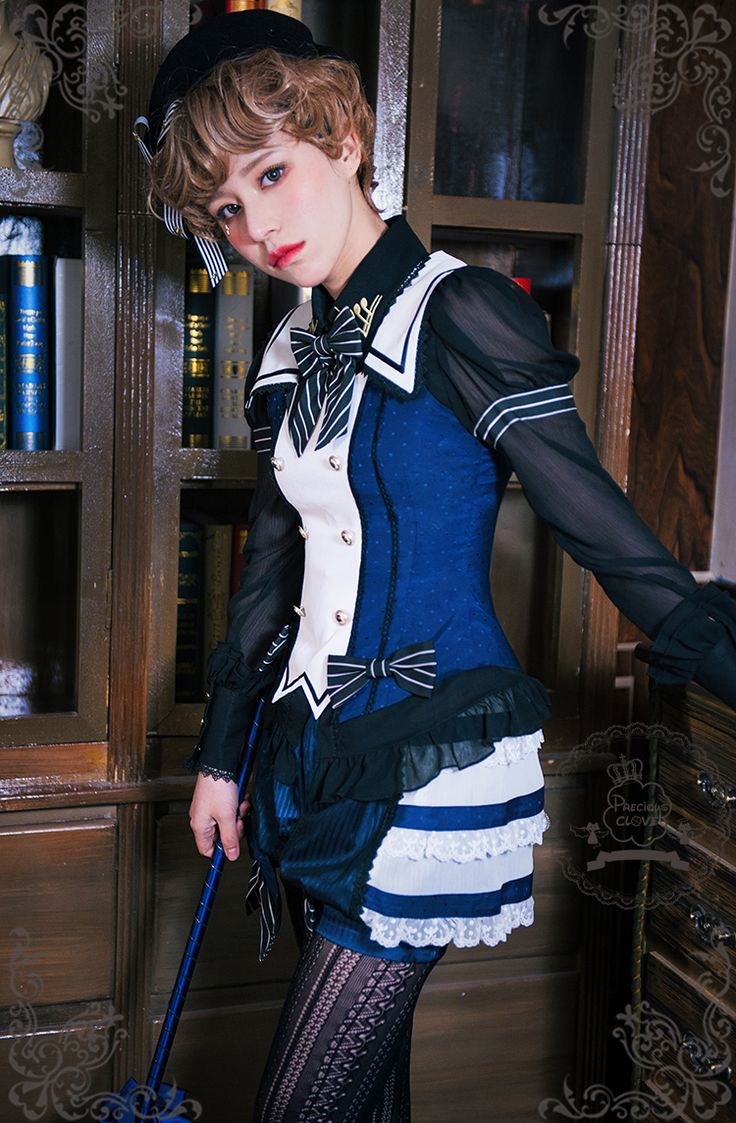
Ouji Lolita
This is the male form of the Lolita fashion with the men’s clothing of the 19th century used. This can include everything from knickerbockers to short trousers or knee socks, top hats, or billowy men’s shirts. Colors are usually black, white, red, and blue, and makeup is used in small amounts to draw out more color.
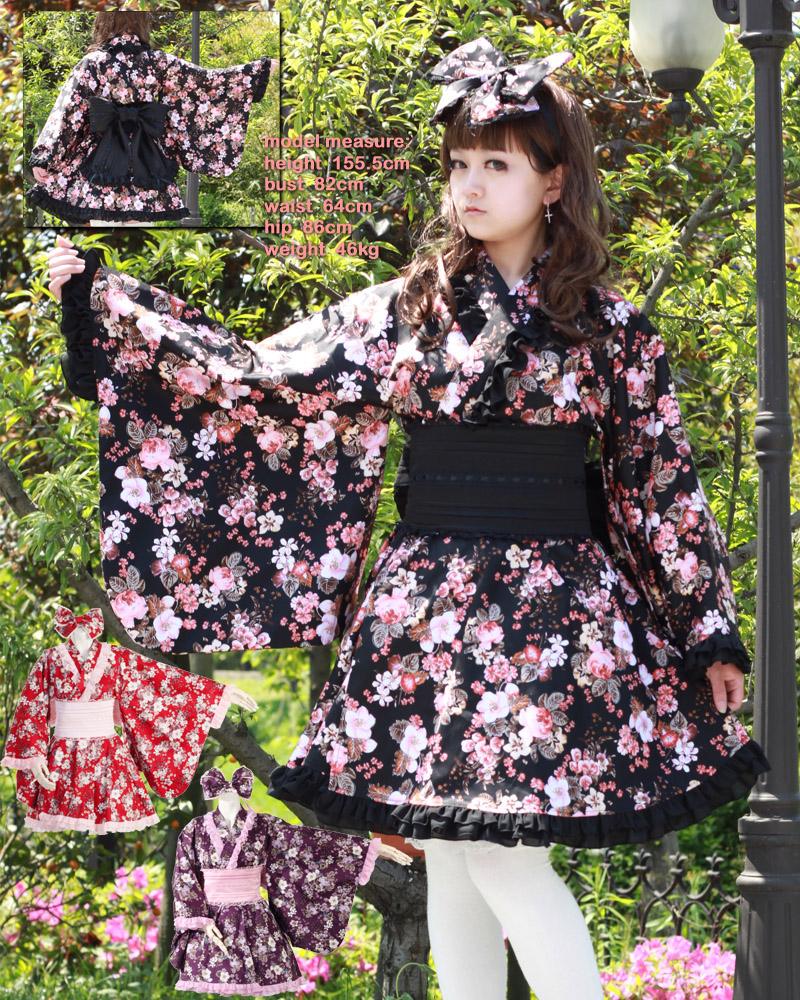
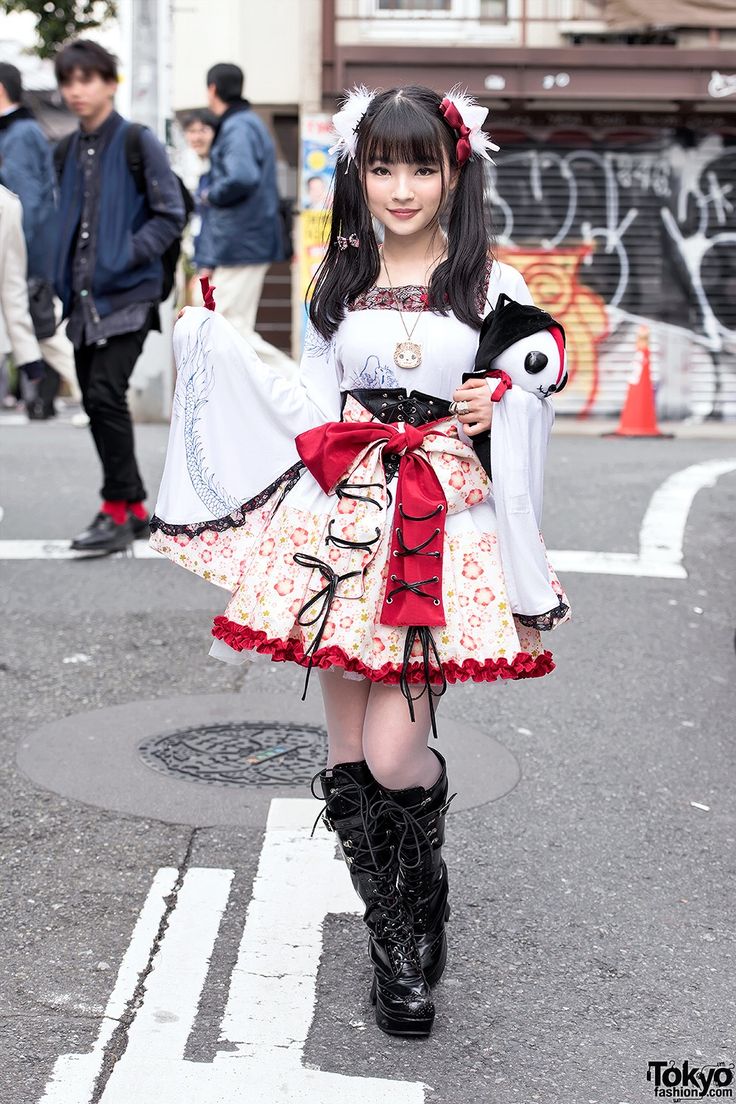
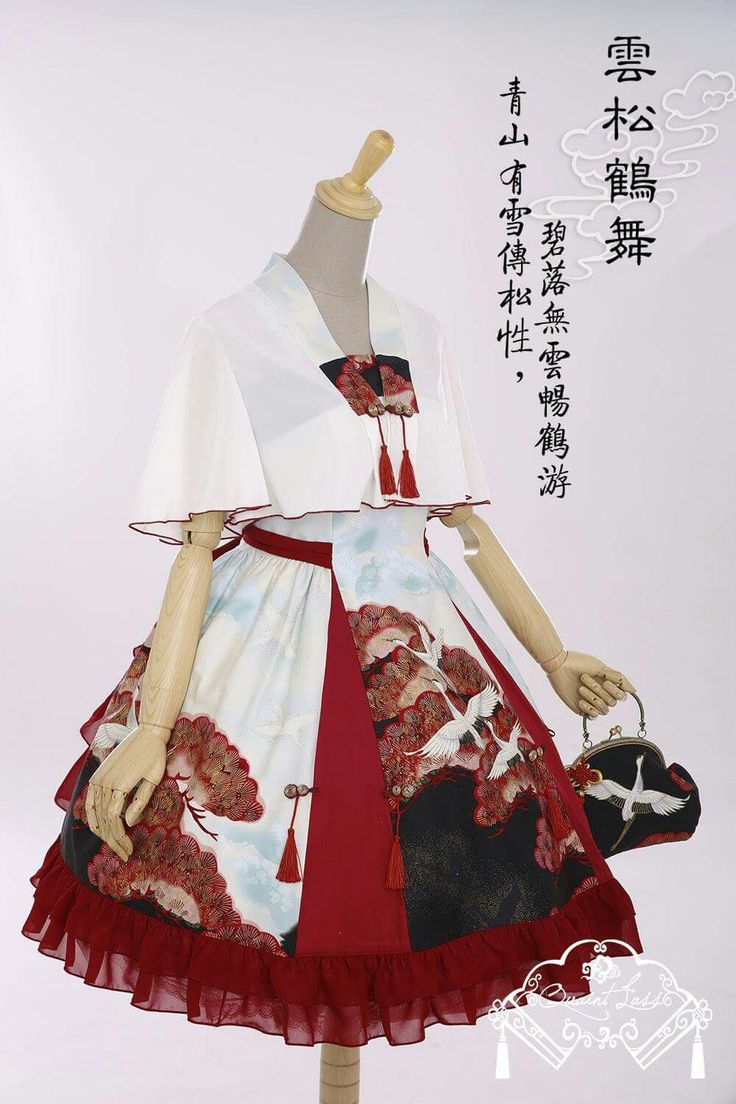
Wa Lolita
It combines the use of traditional Japanese clothing into the Lolita fashion trends using kimonos and Lolita products together. Most often, the bottom half of a kimono will be altered to include the use of a petticoat or skirt. The patterns and accessories are usually covered in Japanese flowers and designs as well.
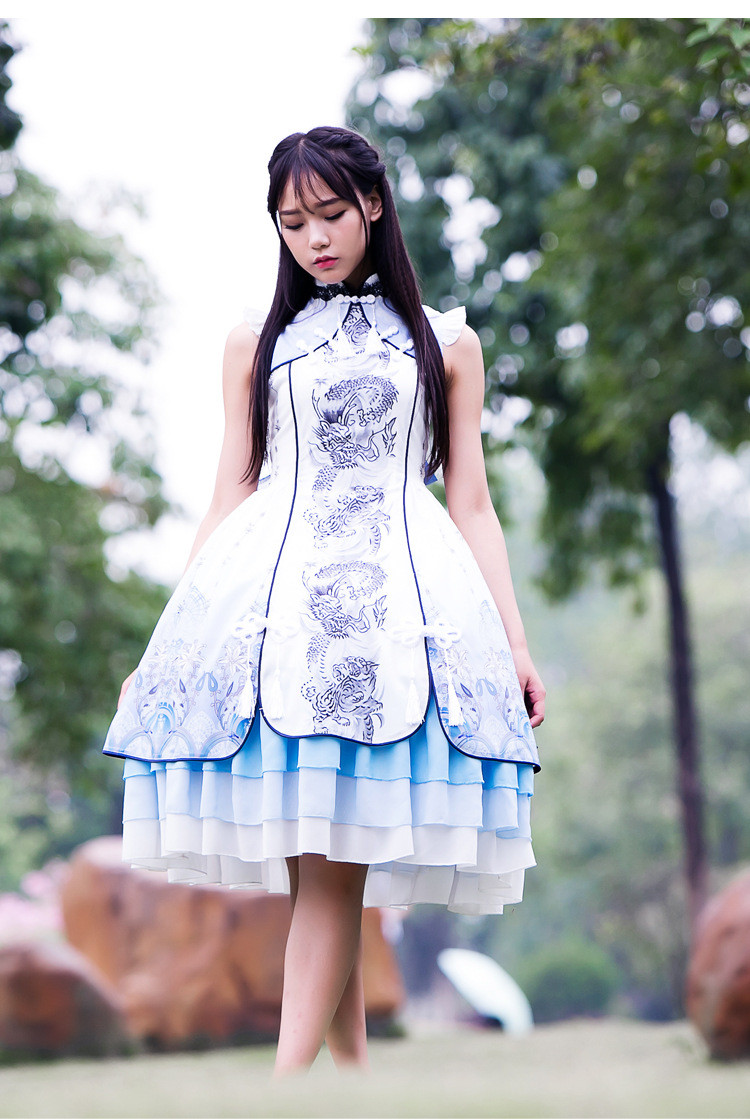
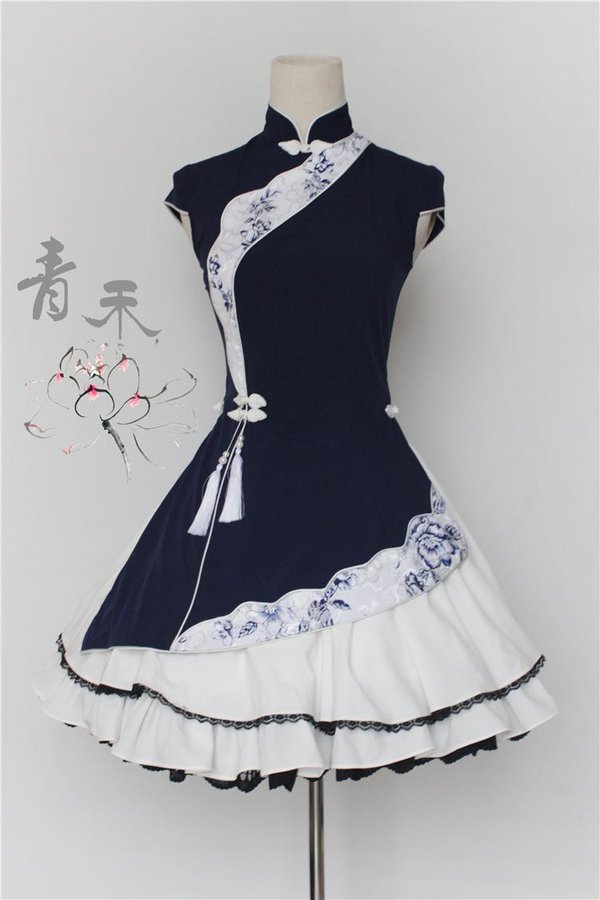
Chinese Style Lolita
Since being popular in China, Lolita fashion develops a different type, Chinese style Lolita. It combines the elements of blue-and-white porcelain, cheong-sam, and many other tradition symbols.