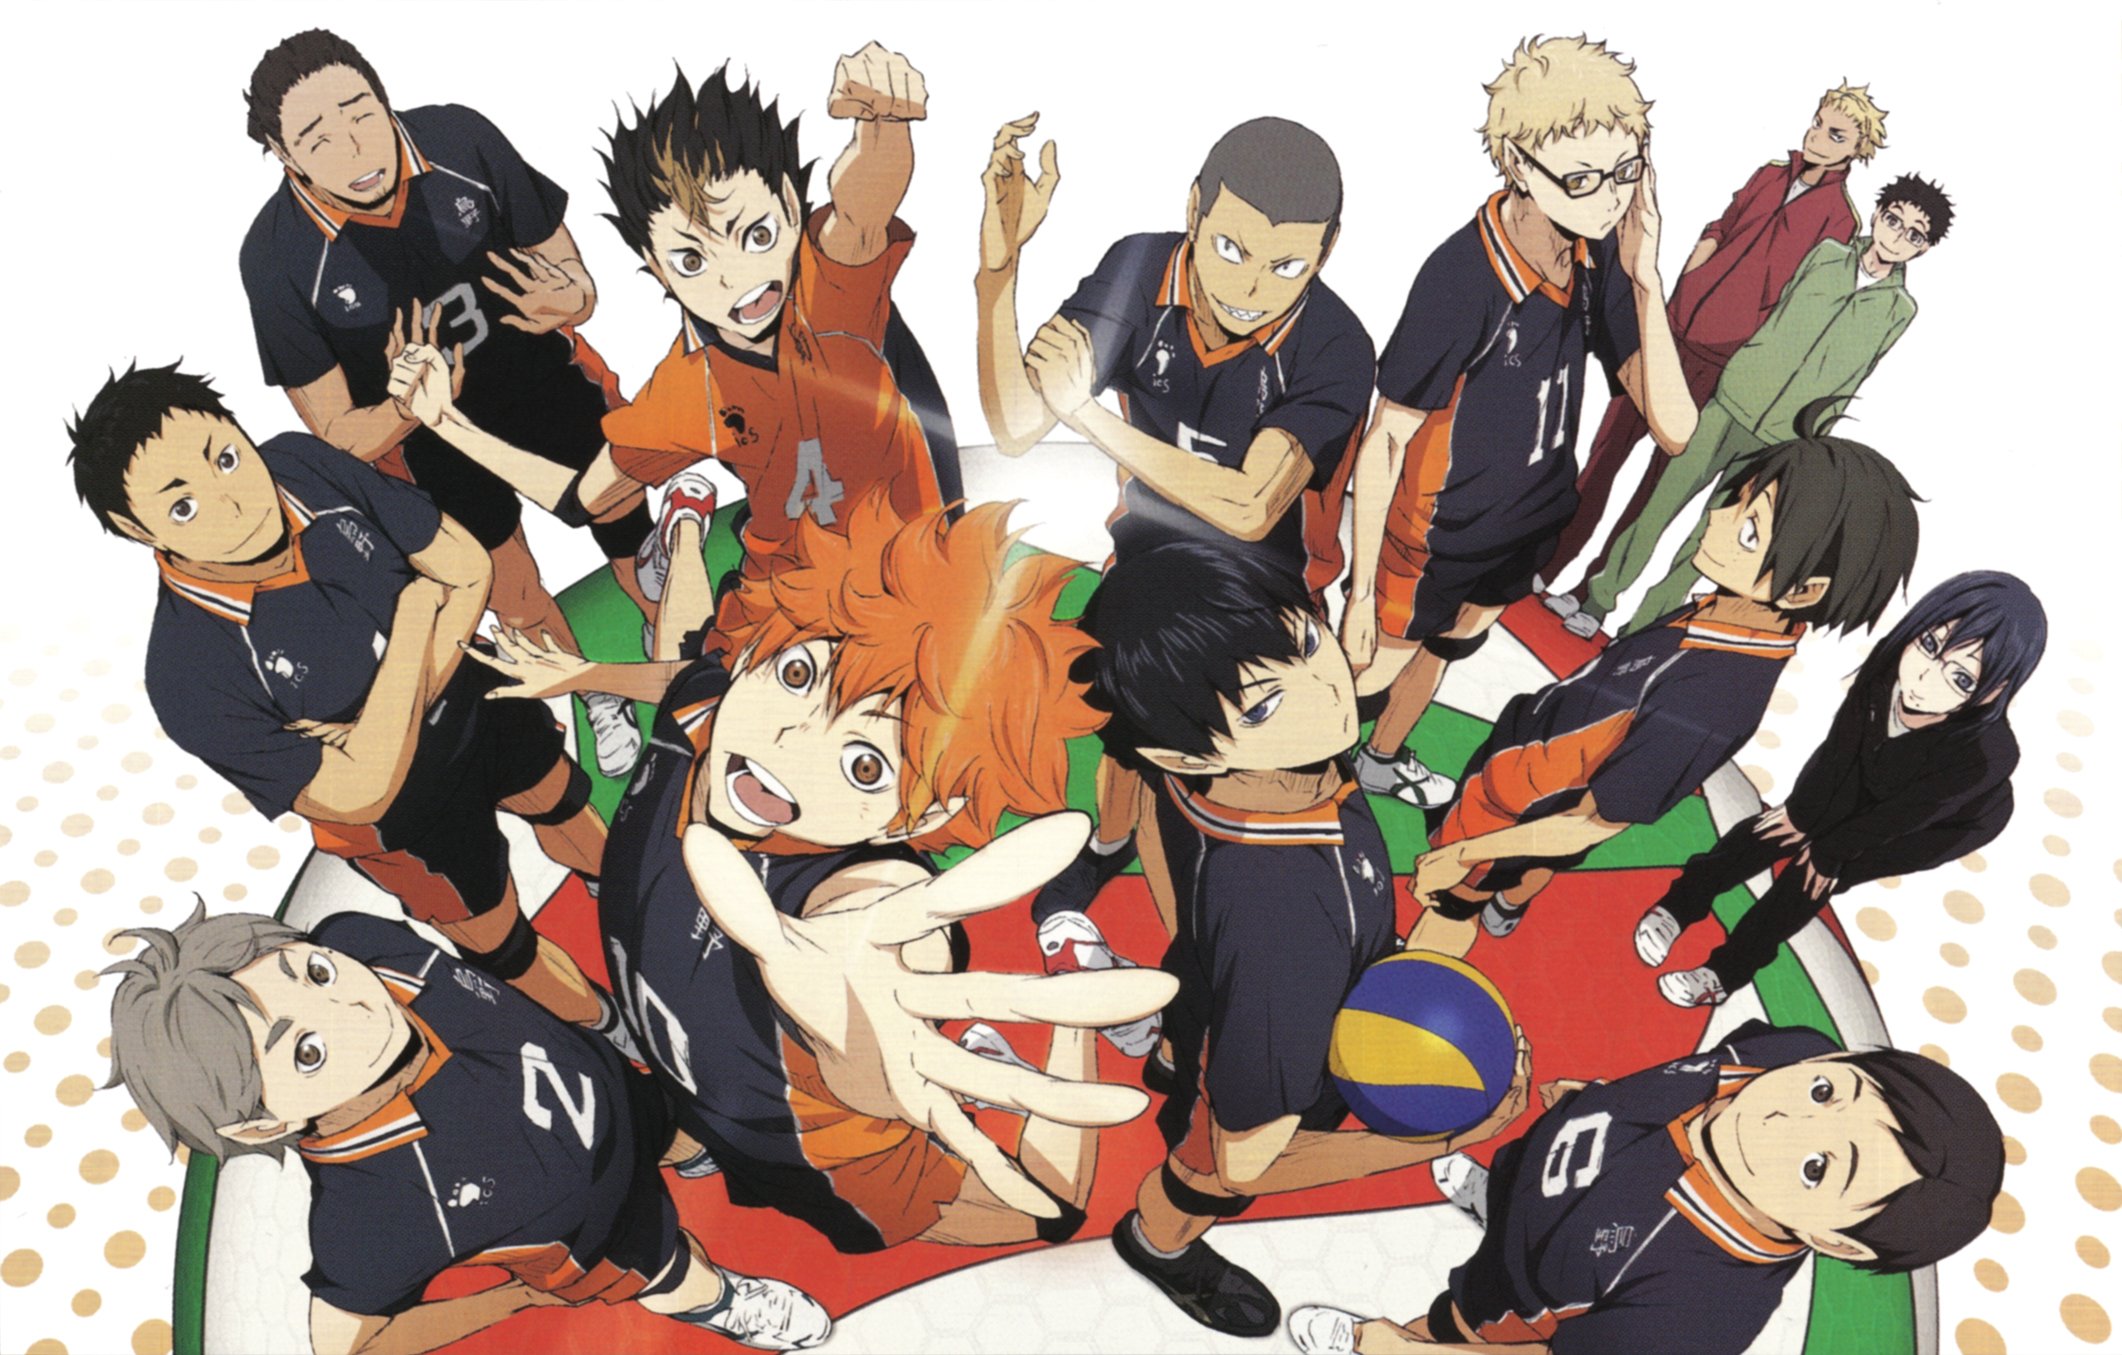
Haikyuu Tobio Kageyama Cosplay Wig
Quick Link: https://www.fairypocket.com/products/haikyuu-tobio-kageyama-cosplay-wig

Haikyuu Kei Tsukishima Cosplay Wig
Quick Link: https://www.fairypocket.com/products/haikyuu-kei-tsukishima-cosplay-wig
![]()
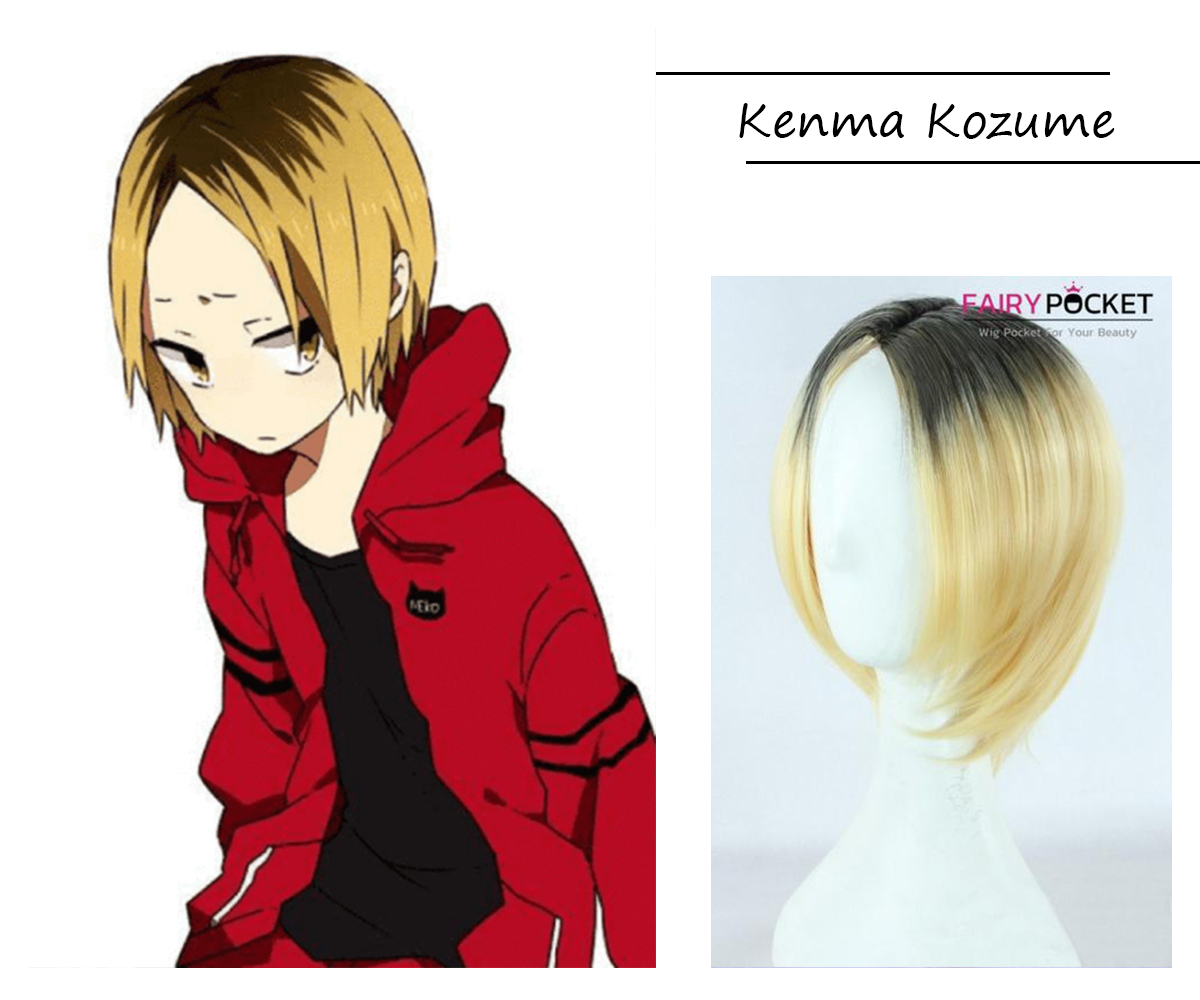
Haikyuu Kenma Kozume Cosplay Wig
Quick Link: https://www.fairypocket.com/products/haikyuu-kenma-kozume-anime-cosplay-wig
Haikyuu Kiyoko Shimizu Cosplay Wig
Quick Link: https://www.fairypocket.com/products/haikyuu-kiyoko-shimizu-cosplay-wig
![]()
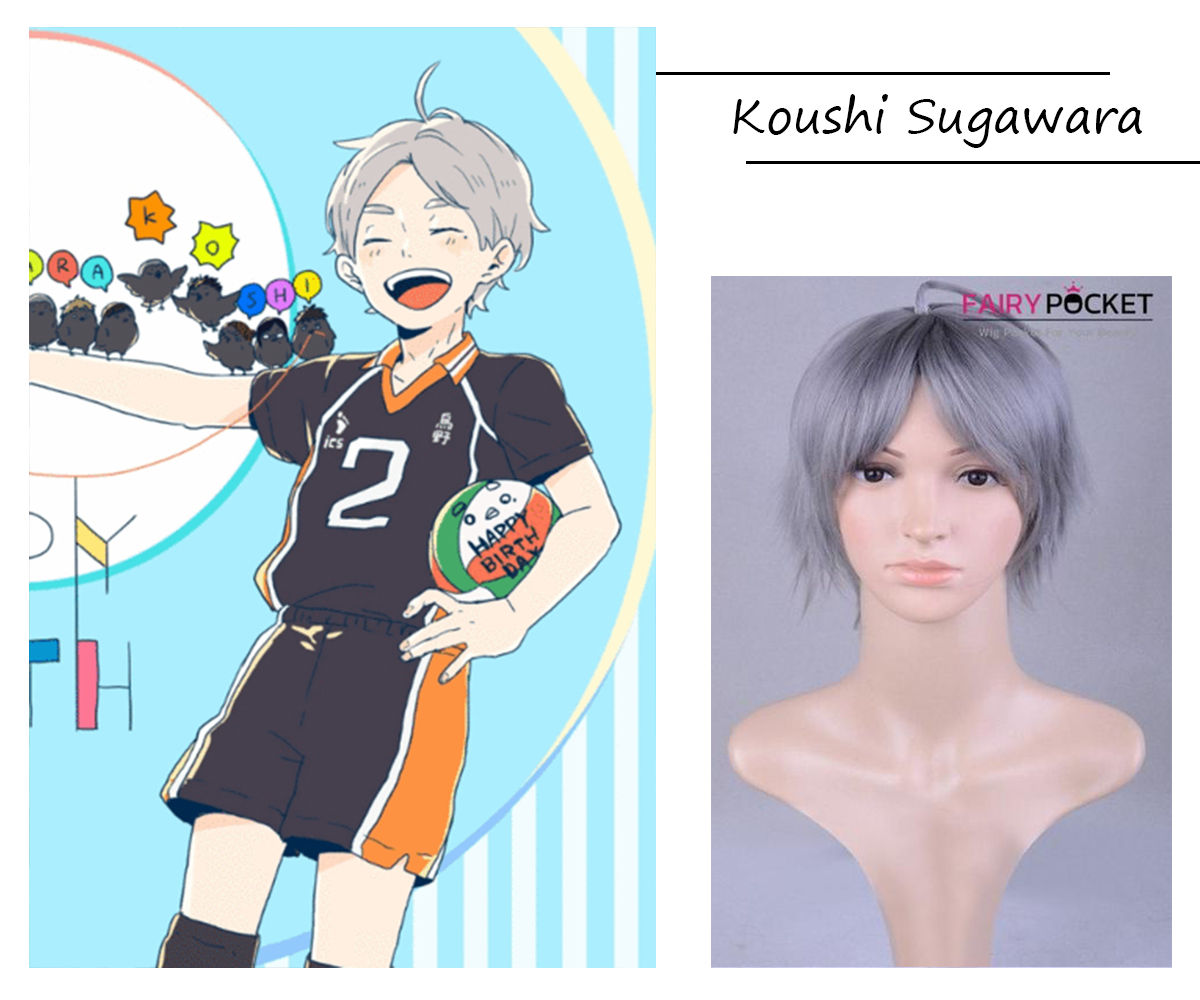
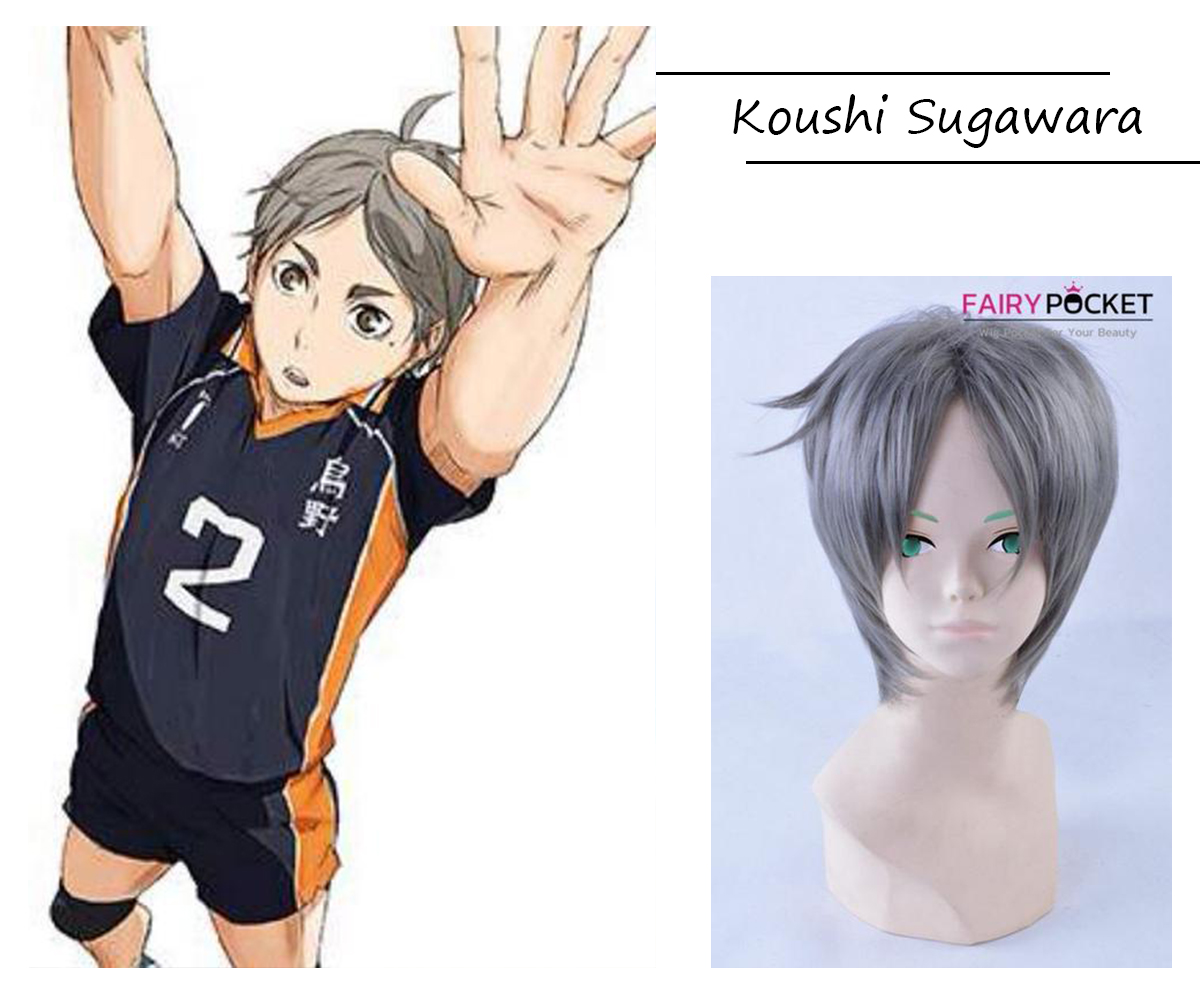
Haikyuu Koushi Sugawara Cosplay Wig
Quick Link: https://www.fairypocket.com/products/haikyuu-koushi-sugawara-anime-cosplay-wig
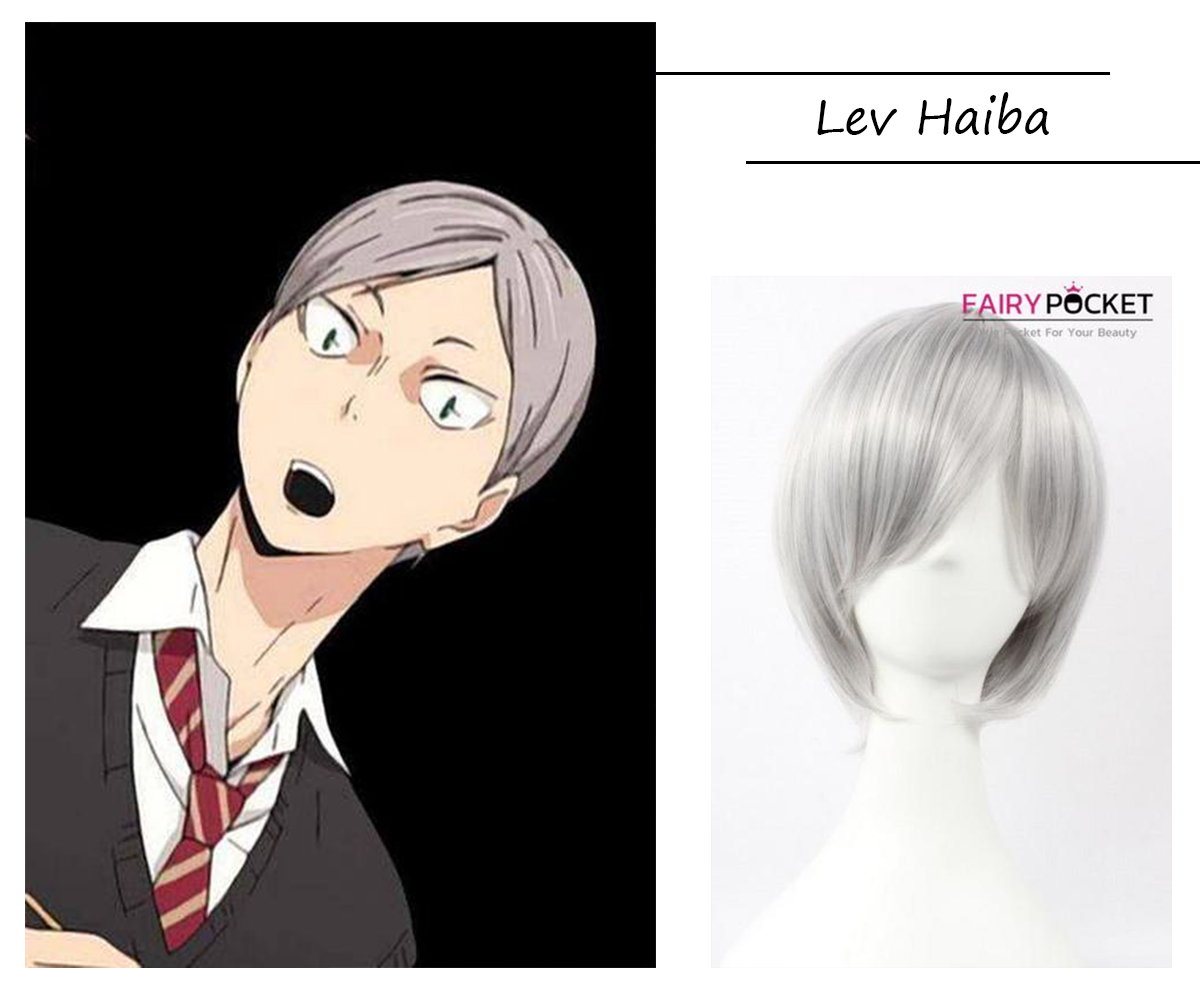
Haikyuu Lev Haiba Cosplay Wig
Quick Link: https://www.fairypocket.com/products/haikyuu-lev-haiba-cosplay-wig
Haikyuu Shouyou Hinata Cosplay Wig
Quick Link: https://www.fairypocket.com/products/haikyuu-shouyou-hinata-anime-cosplay-wig

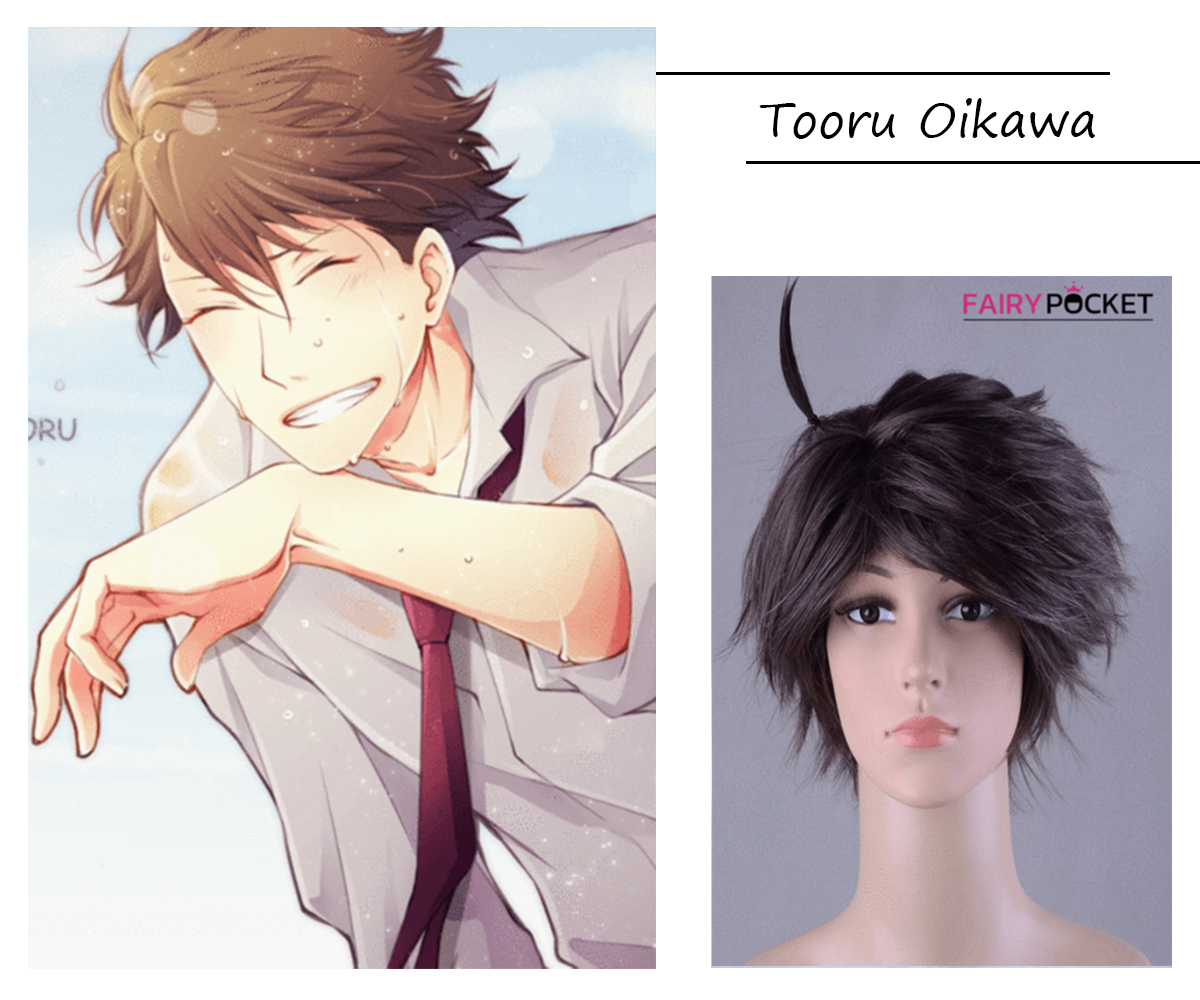
Haikyuu Tooru Oikawa Cosplay Wig
Quick Link: https://www.fairypocket.com/products/haikyuu-tooru-oikawa-anime-cosplay-wig
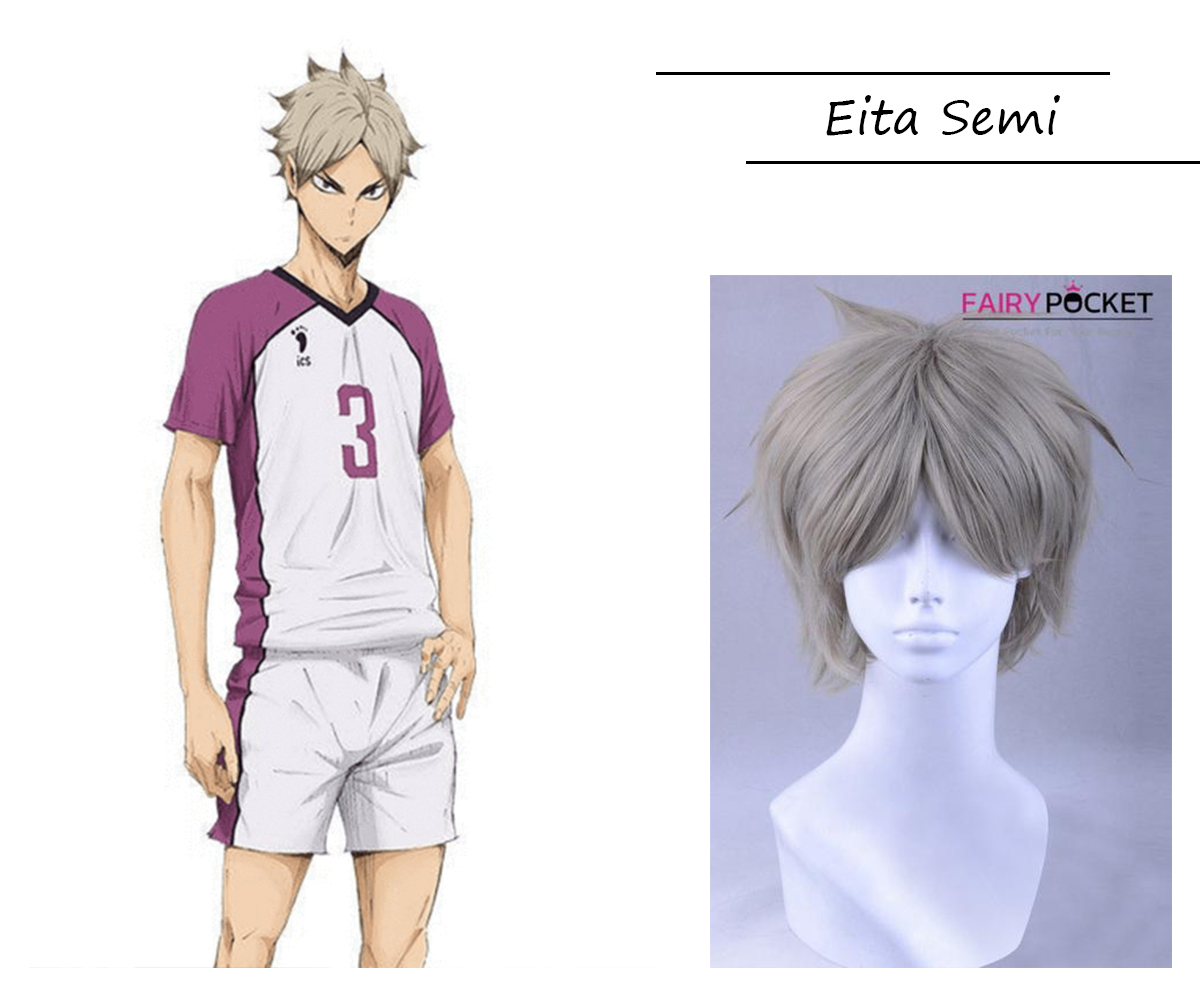
Haikyuu Eita Semi Cosplay Wig
Quick Link: https://www.fairypocket.com/products/haikyuu-eita-semi-anime-cosplay-wig
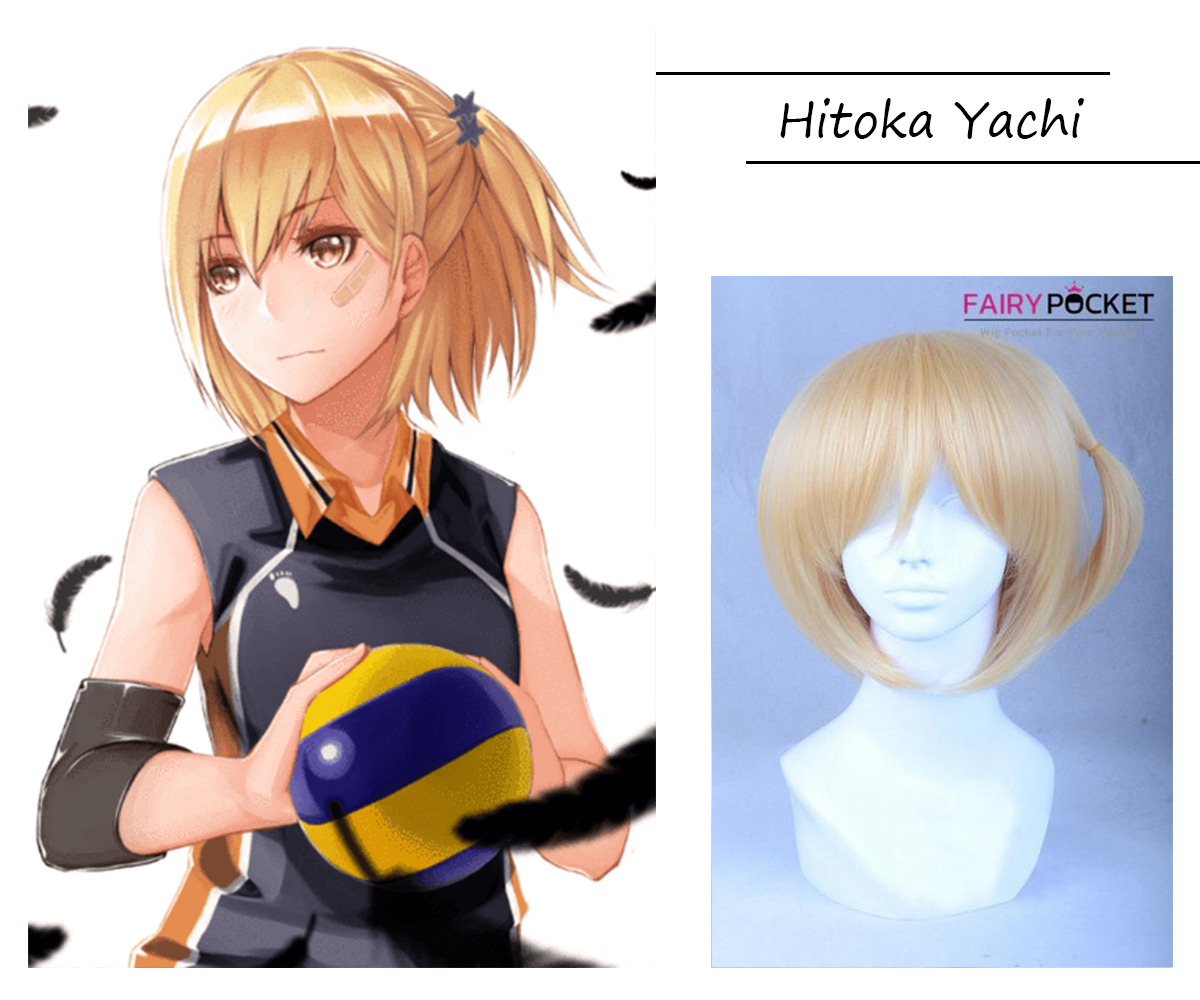
Haikyuu Hitoka Yachi Cosplay Wig
Quick Link: https://www.fairypocket.com/products/haikyuu-hitoka-yachi-anime-cosplay-wig

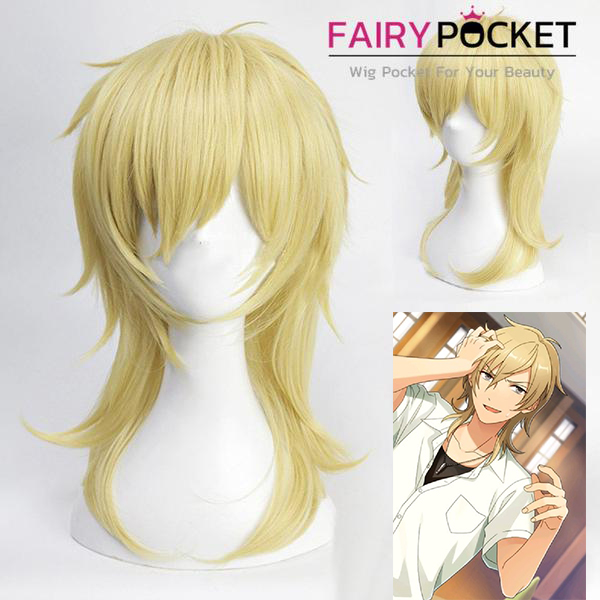
 Violet Evergarden Benedict Blue Cosplay Wig
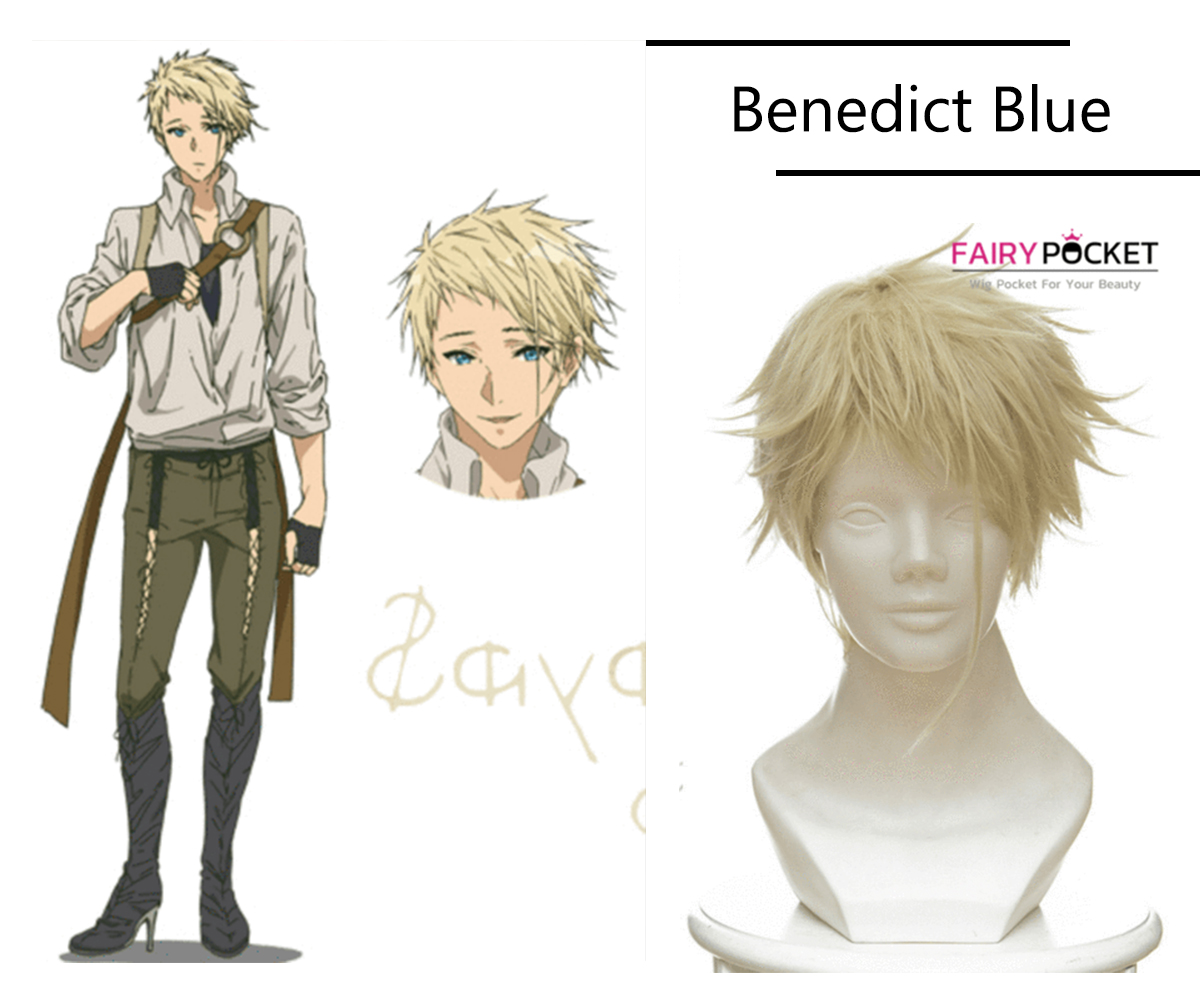
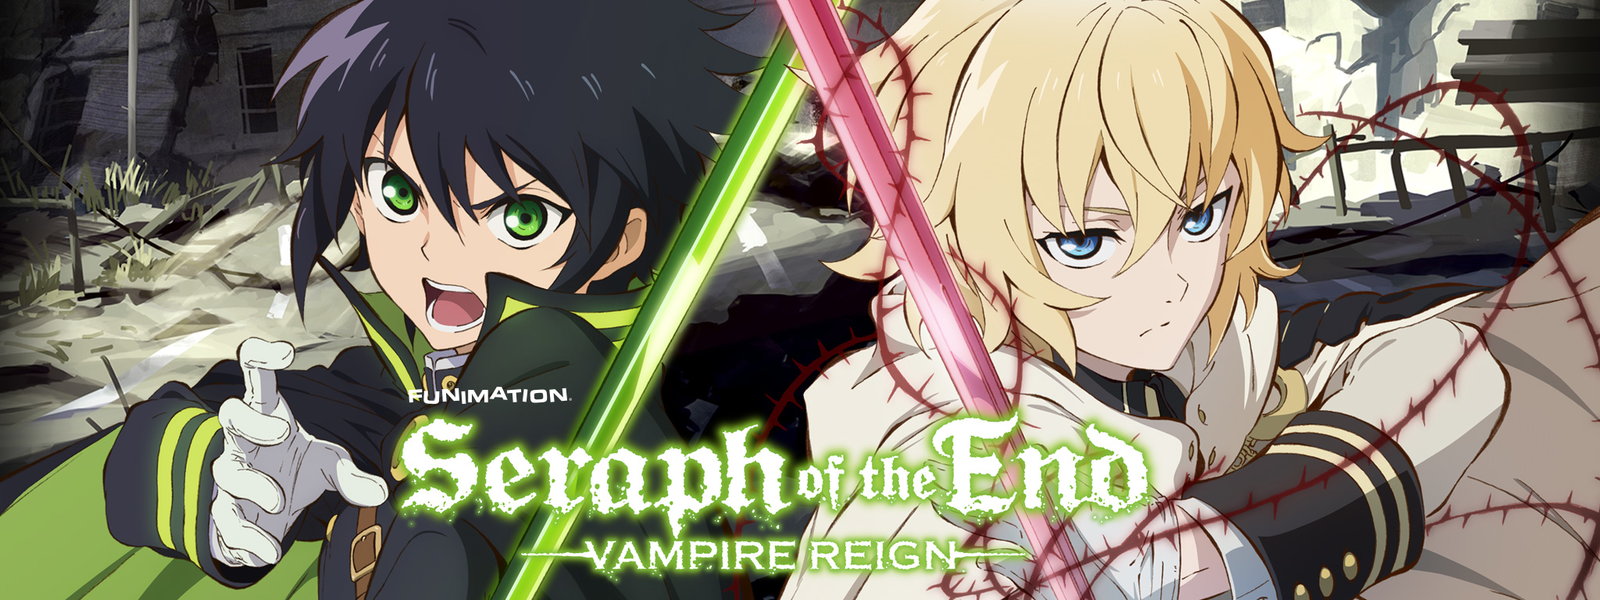
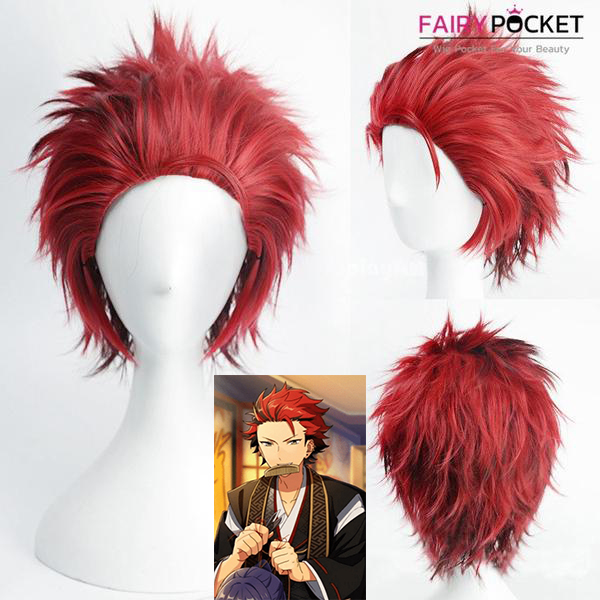
 Seraph of the End Ferid Bathory Cosplay Wig
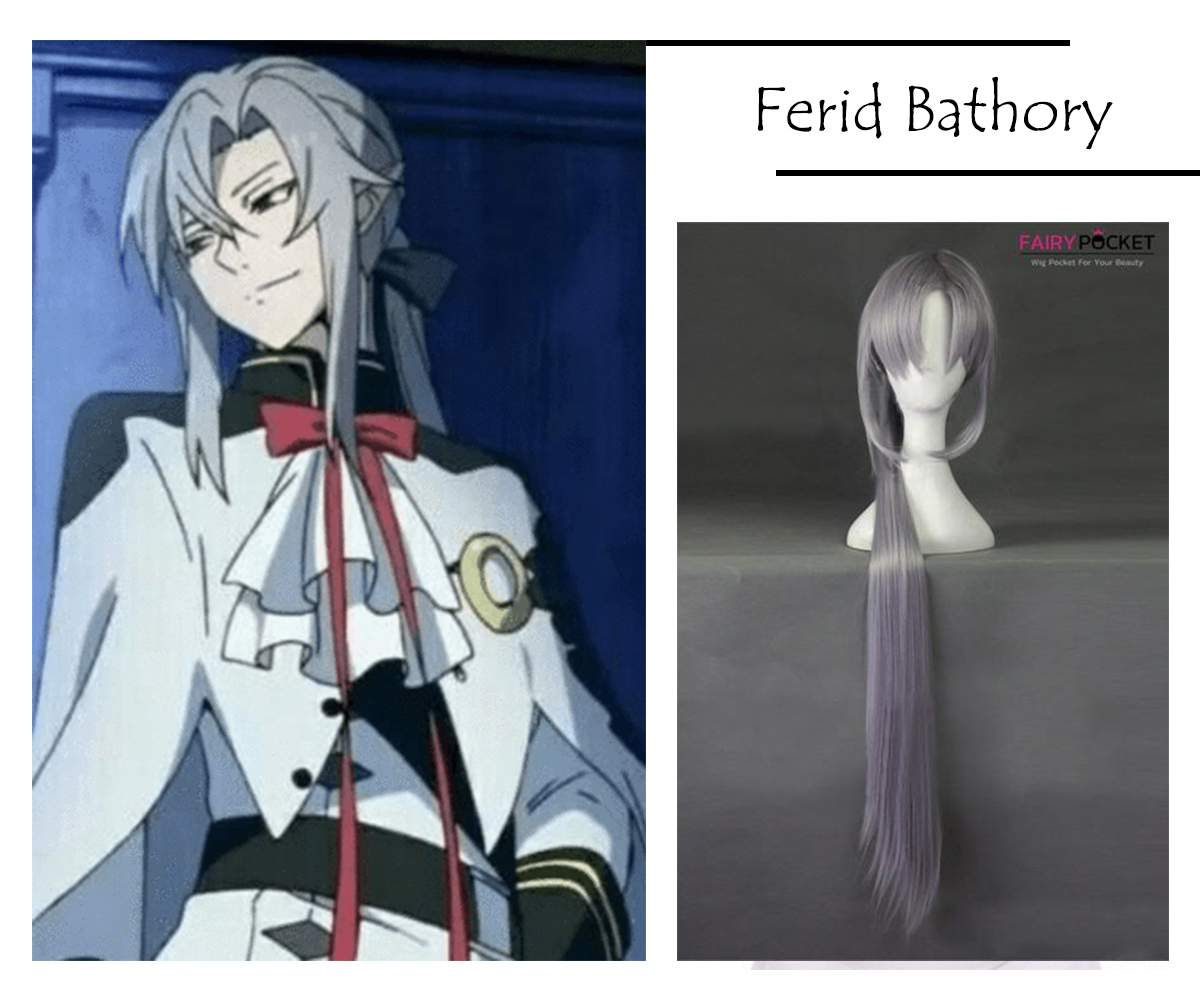


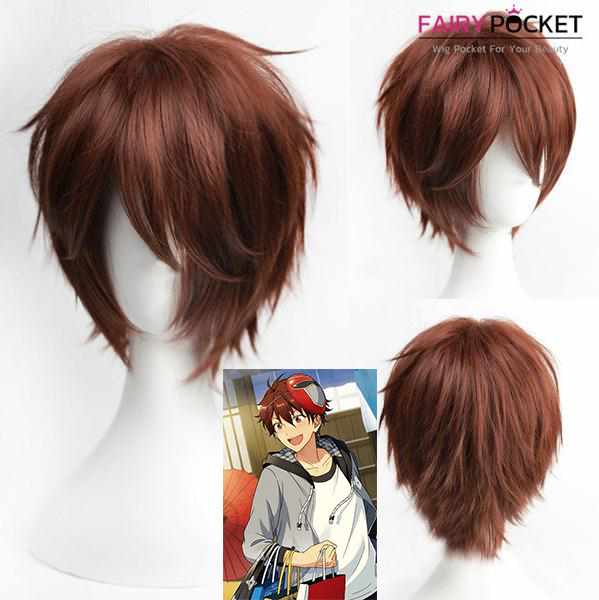


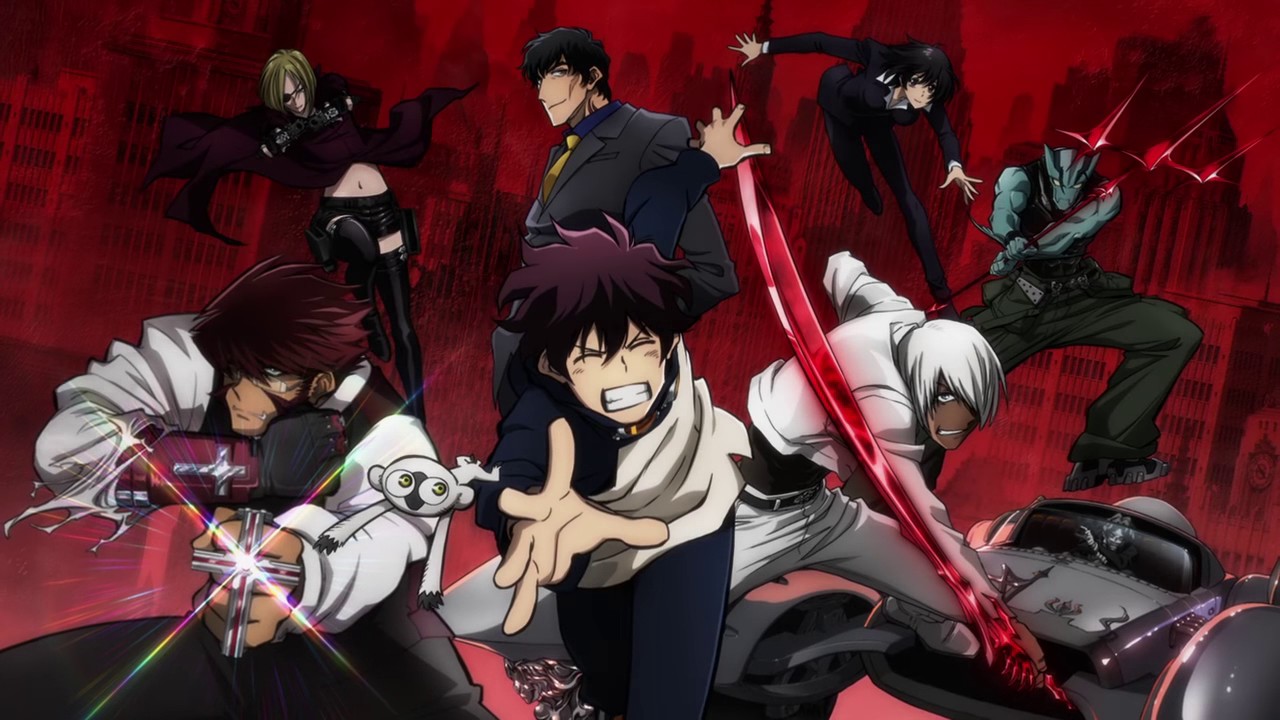
 Zapp Renfro Cosplay Wig
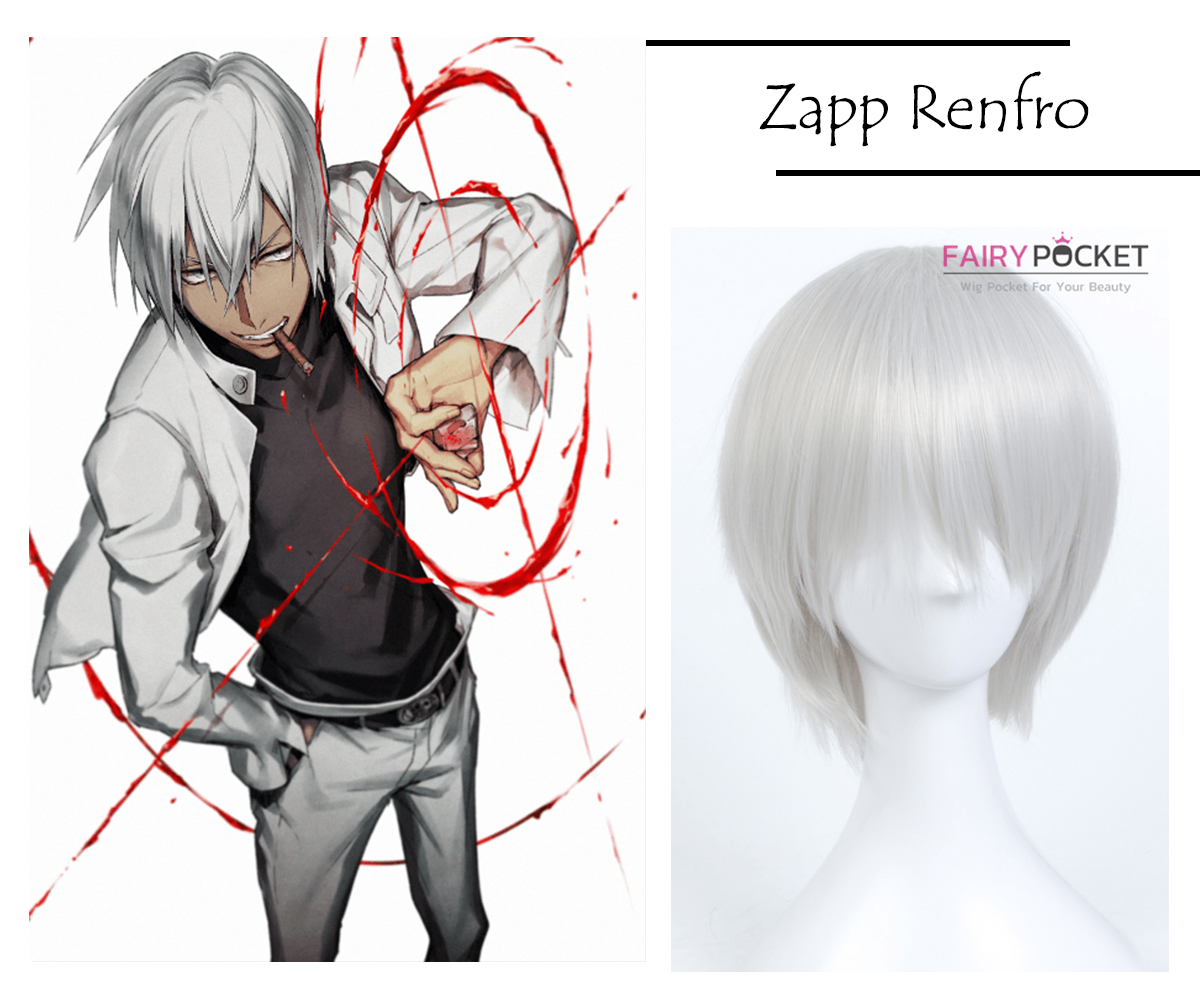 Chain Sumeragi Cosplay Wig
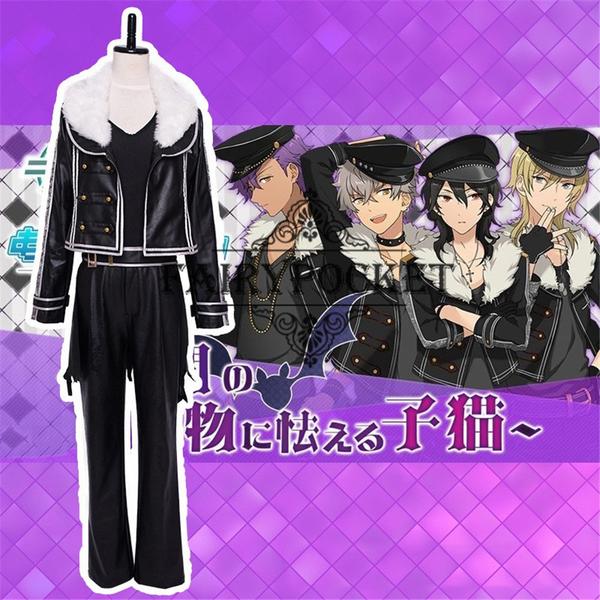
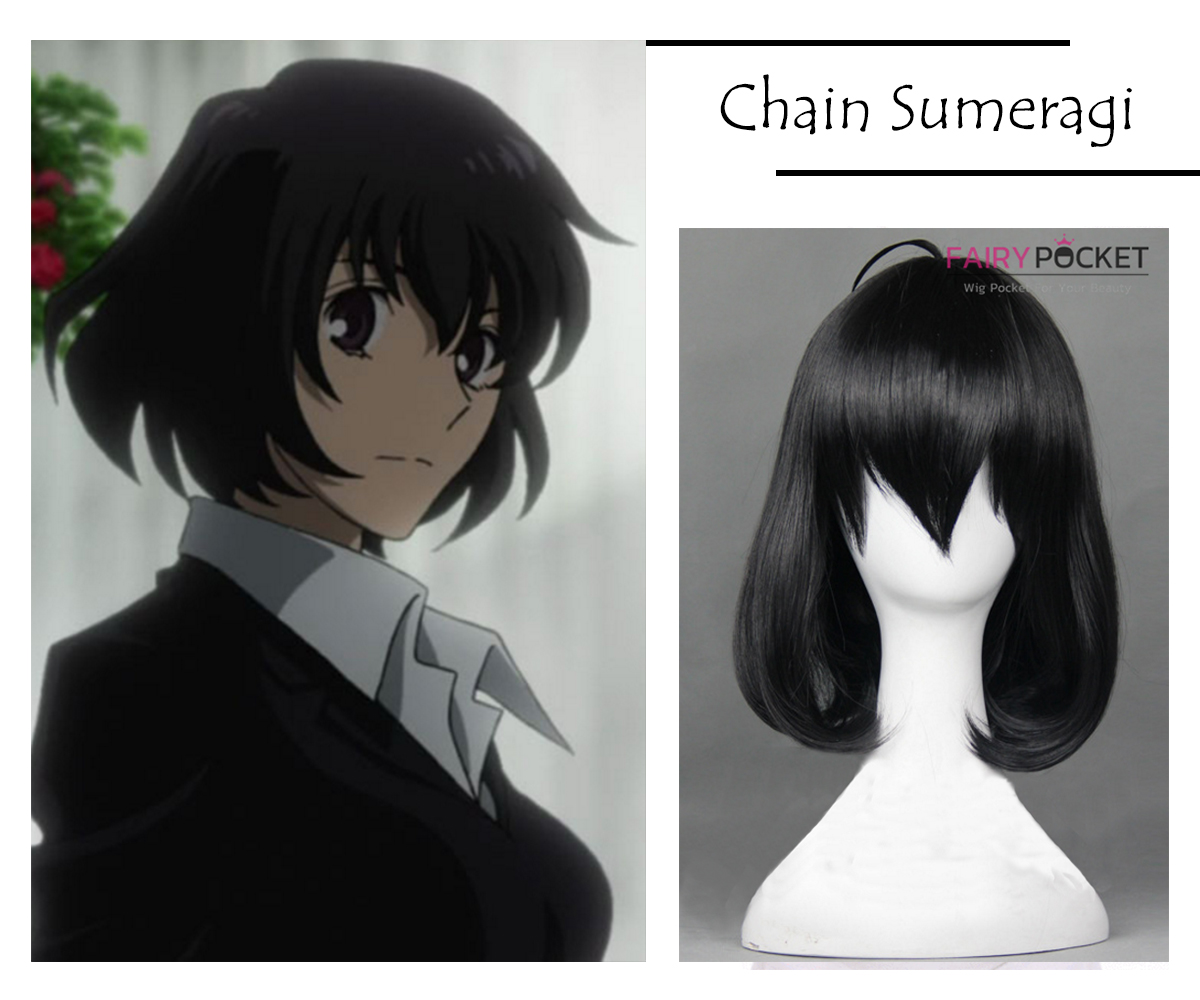 Michella Watch Cosplay Wig
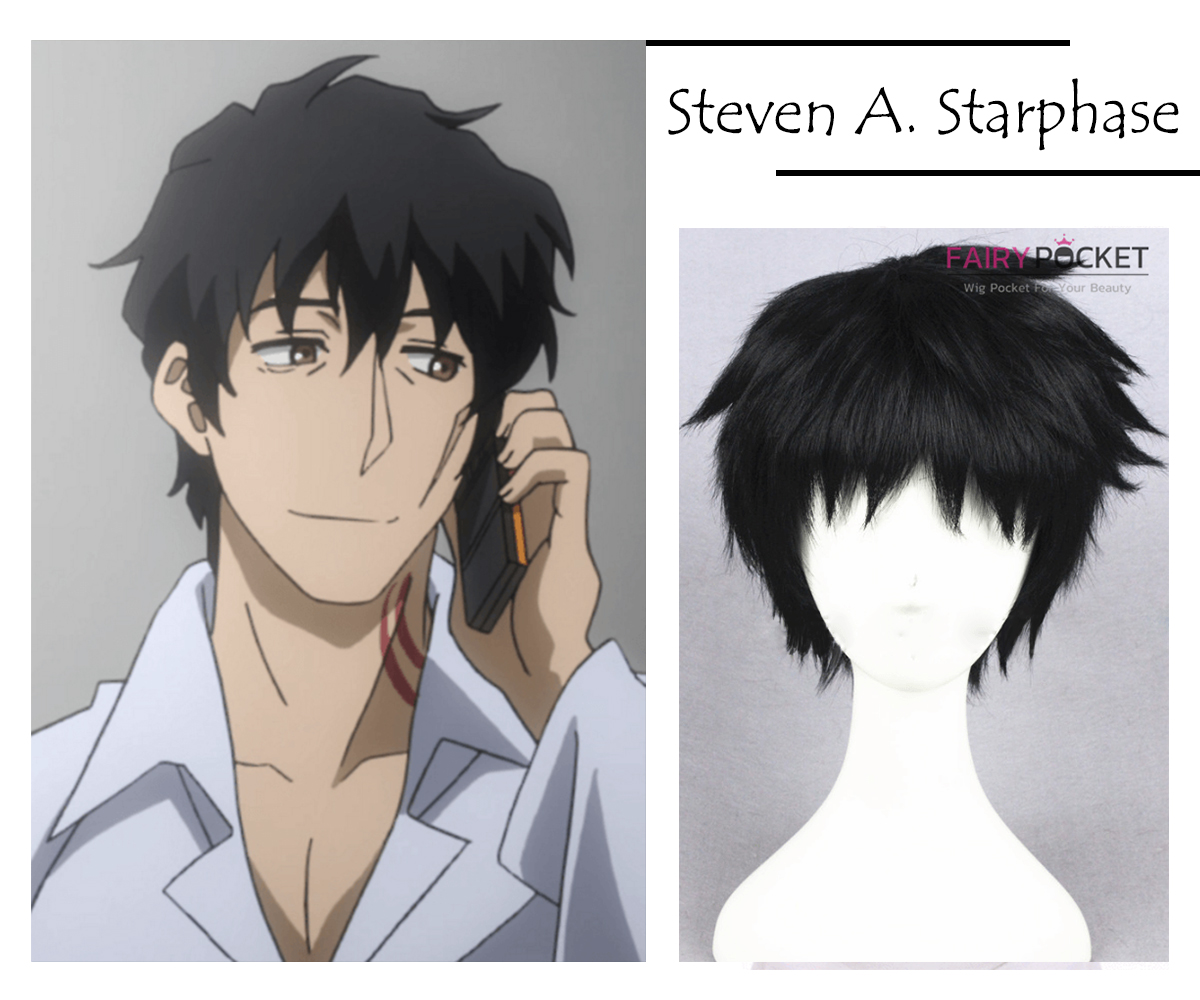
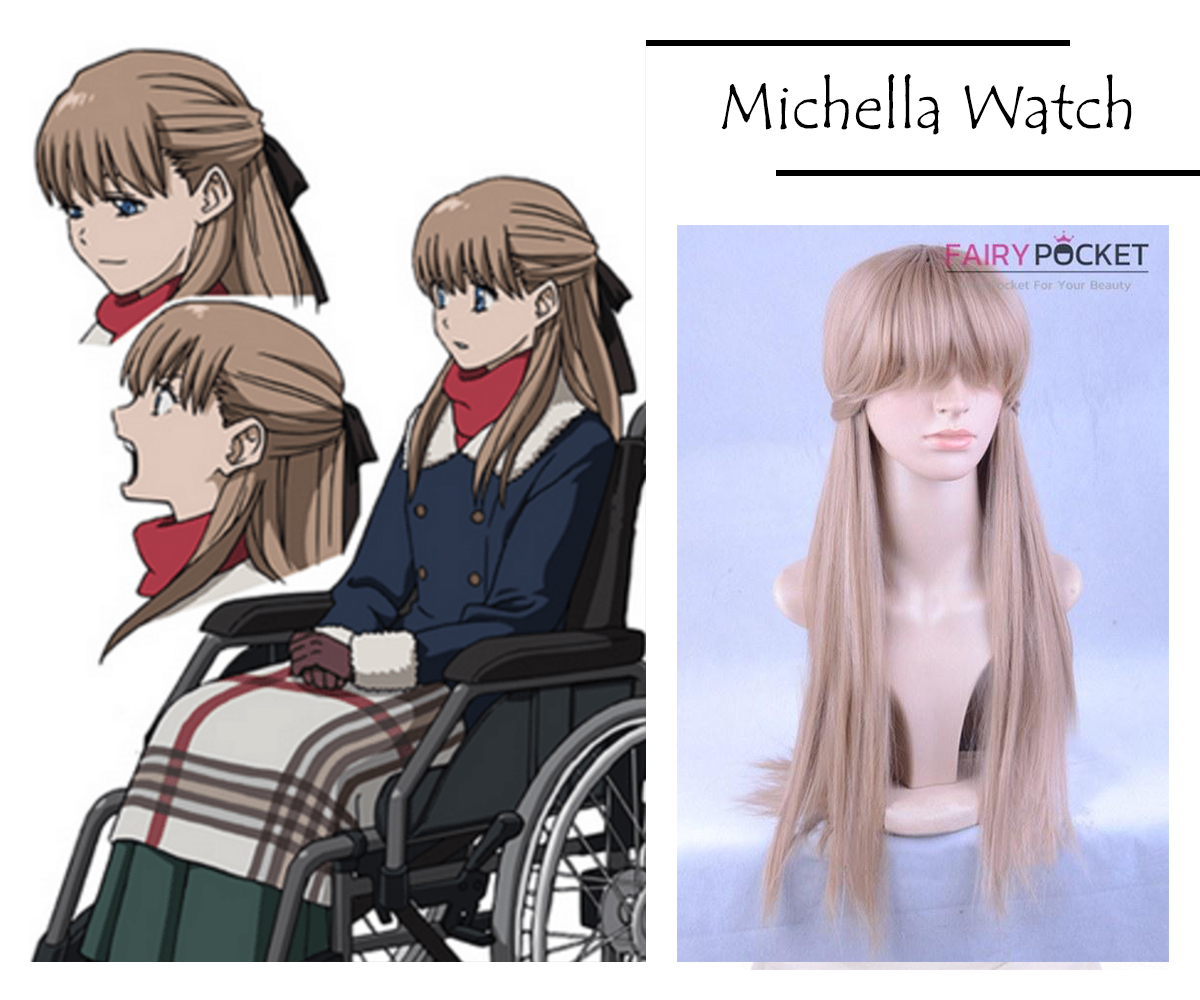 Steven A. Starphase Cosplay Wig