Some Tips of Making Cosplay Props for Beginners IV

Material

  1. Super Glue

I like to pick it up in bulk at the local hobby store. If you chose EVA foam as the material, It is a must! Avoid of getting it on your skin, because it has a tendency to adhere that the best. I think you can pick up some debonding agents if you do glue yourself to yourself.

  1. Epoxy Glue

It also can be got from the hardware store. You just need to mix two parts together and use it to adhere two things together. It works good on many surfaces, especially plastics.

  1. Masking Tape

During painting, you may want to mask some parts of your prop. The masking tape will help you a lot. You can also use it to hold pieces together temporarily during assembly.

  1. Nylon Webbing

It can be procured from most craft stores in various thickness. When you create functional belts and straps for costume pieces, this material cannot be beat. Hot glue works good on it.

Now you’re armed with so many materials, let’s know more about what you will need to start shaping them into something you need.


Tools of the Trade

I have tried to narrow it down to the bare minimum that you would need to get started. But this just a part of tools. There are many advanced options for your crafting.

  1. Dremel/Rotary Tool

Spend your cash on a good rotary tool to get one that is decent used for you. You can drill, sand, carve, and engrave with one of these amazing tools.

  1. Craft Knives

I’m sure that an x-acto knife will do most of what you need. Just buy it and prepare some replacement blades.

  1. Files

Both big and small, using files to get good, hard edges on your props will make your props outstanding.

  1. Clamps

You can never have too many clamps. In fact, I am always running into situations where I don’t have enough! Believe me, you have no excuse not to stock up. You really need a lot during crafting.

  1. Sanding Block and Sandpaper

When crafting a prop that you want to stand out, A healthy amount of sanding makes all of the difference. A cheap sanding block that is constantly replenished with fresh sandpaper will reward you immeasurably. It is necessary for you to keep an ample supply of sandpaper in varying grist. Lastly , getting some sponges is a wise decision. Because they extremely useful for sanding all of the little nooks and crannies.

  1. Copying Saw/Jig Saw/Scroll Saw

All of these saws do pretty much the same thing with varying degrees of scale and accuracy.


Some Tips of Making Cosplay Props for Beginners III

Materials

  1. Insulation Foam

It is the rigid stuff that you can pick up in any hardware store. It is also know as polystyrene foam. There are several thicknesses you can chose. It is cheap. You can form it with a rasp and sandpaper.

However, many types of glues and some paints will turn your project into a puddle of goo. If you use this material, please remember choose something to cover it with, and never forget to test it out on a scrap piece of foam. It’s brittle and will not hold a sharp edge at all. It’s also very difficult to get intricate detail out of insulation foam.


  1. Cardboard, Poster Board and Foam Core

All of these materials are cheap, readily available, and easy to work with.


  1. PVC Pipes

You need a gun barrel? PVC Pipe! Sword handle? PVC! A gun scope? PVC pipes in different thickness with some size adapters! Bzooka? Giant PVC Pipe!

Nearly any sort of cylindrical piece can be crafted quickly and cheaply from PVC pipe. It can be got from any hardware store on the planet. It comes in a myriad of sizes along with an absurd amount of connector pieces.

Some of unique pieces and sizes can be expensive. PVC is difficult to paint, and don’t try to head bend it. It will just collapse on you. If you heat it up too much, it will start turning brown and release toxic gas trying to kill you.


  1. Styrene

It comes in plenty of sizes, shapes, and patterns, but you may need to order it online. If you want to save some money, you can pick up those “for sale” signs at a hardware store, they’re usually made from styrene. It can be heat formed, glued, sanded and painted with some amazing results.


  1. Sculpey

It isn’t too expensive and is far superior to the standard rainbow colored varieties. You will be prepared to make some extremely detailed pieces, if you armed with a handful of sculpting tools and a brick of Super Sculpey. The only thing you need to cure it is a kitchen oven.

It is also a brittle material, so I don’t recommend using it for any sort of structural pieces. If you end up using it a lot, I would recommend getting a pasta roller type tool to Flatten and knead your raw material before starting to sculpt it.


9. Paints

There are such a variety of types of paints that I could write a whole other book on just them. For simple stuff, you can usually get away with spray from the hard ware store. Also, for weathering I prefer to use acrylic paints, commonly available from all crafting stores. Rub’n Buff, a metallic, wax based paint available at craft stores, can be worked with those metallic details.

Some Tips of Making Cosplay Props for Beginners II

Last time we’ve talked about the preparation before getting started. Today I’ll show you something differe.

Design and Scale Your Pieces

It is not always necessary for you to draw up detailed schematics and blueprints for all your prop builds. A decent pencil drawing can be enough for you. The important thing to remember is that the object or costume piece might be a different size in real space than it appears to be on the TV screen. Getting it all down on paper at the size you plan on building it will save a lot of time.

Sometimes, you will end up making several separate pieces and then assembling them when they are finished. If one or two of the finished parts are too big, too small, or don’t fit on your frame, It will really let you down. So having good measurements alleviate most of these types of problems.


Materials

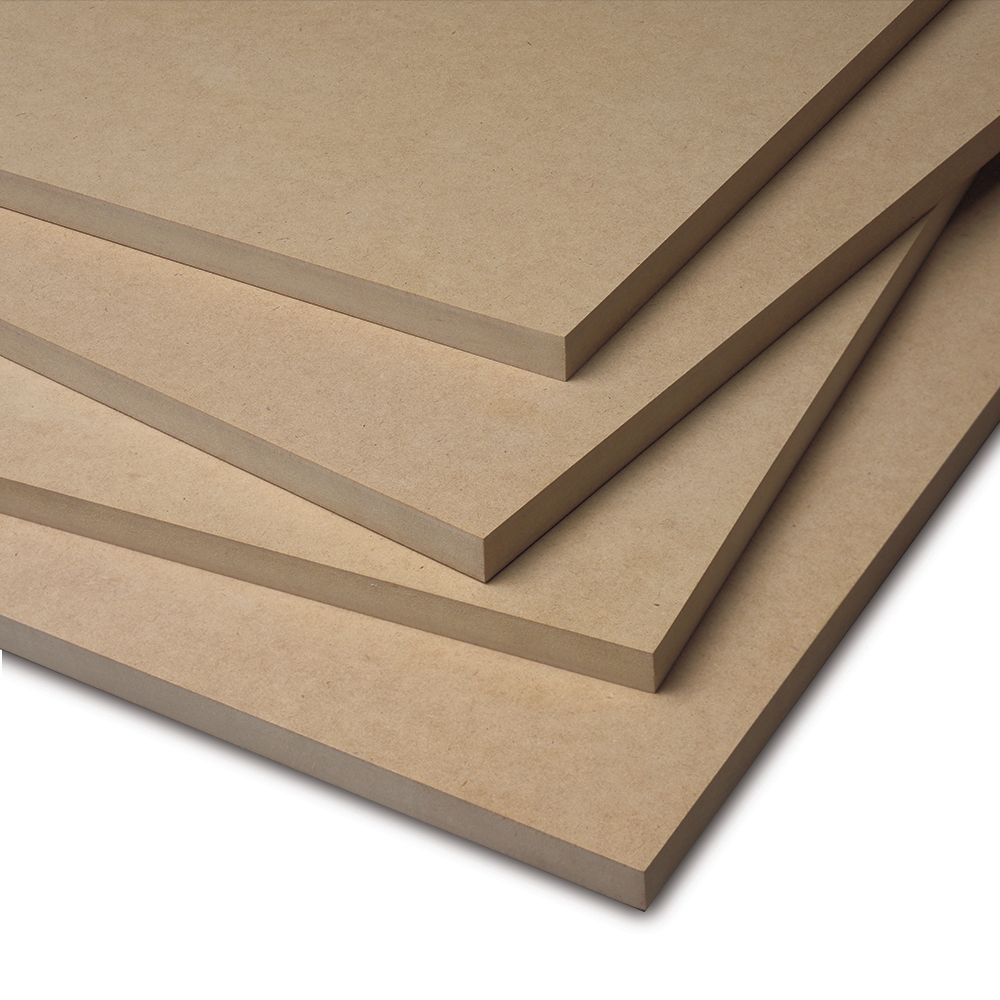
  1. MDF Wood

Medium Density Fiber wood is an incredible material for beginners and pros alike. The cheap material can be bought at your local hardware stores. It can be glued with wood glue and sealed easily with super glue. It sands and shapes very easily, because it has no wood grain.

But there are some downfalls to MDF. It will disintegrate when exposed to moisture. It has formaldehyde in it. I think you know what it is. People always use it to embalm dead bodies. It will kick up some nasty dust when you’re sanding and shaping it. Don’t forget to use your respirator. The MDF wood is also pretty heavy and won’t hold a fine detailed edge.

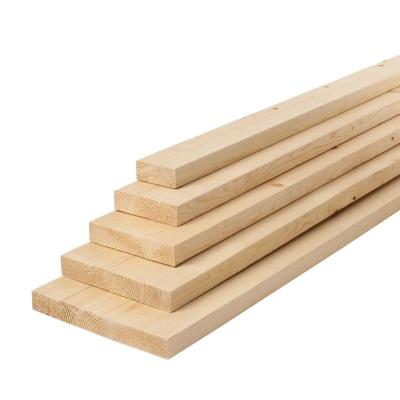
  1. Hardwood

It is also readily available, but its price are higher than MDF wood. Hardwood is a good choice for you to shape a nice straight blade. But it is more difficult to manipulate than MDF. Hardwoods have a grain in them that can be a bit of headache to deal with.

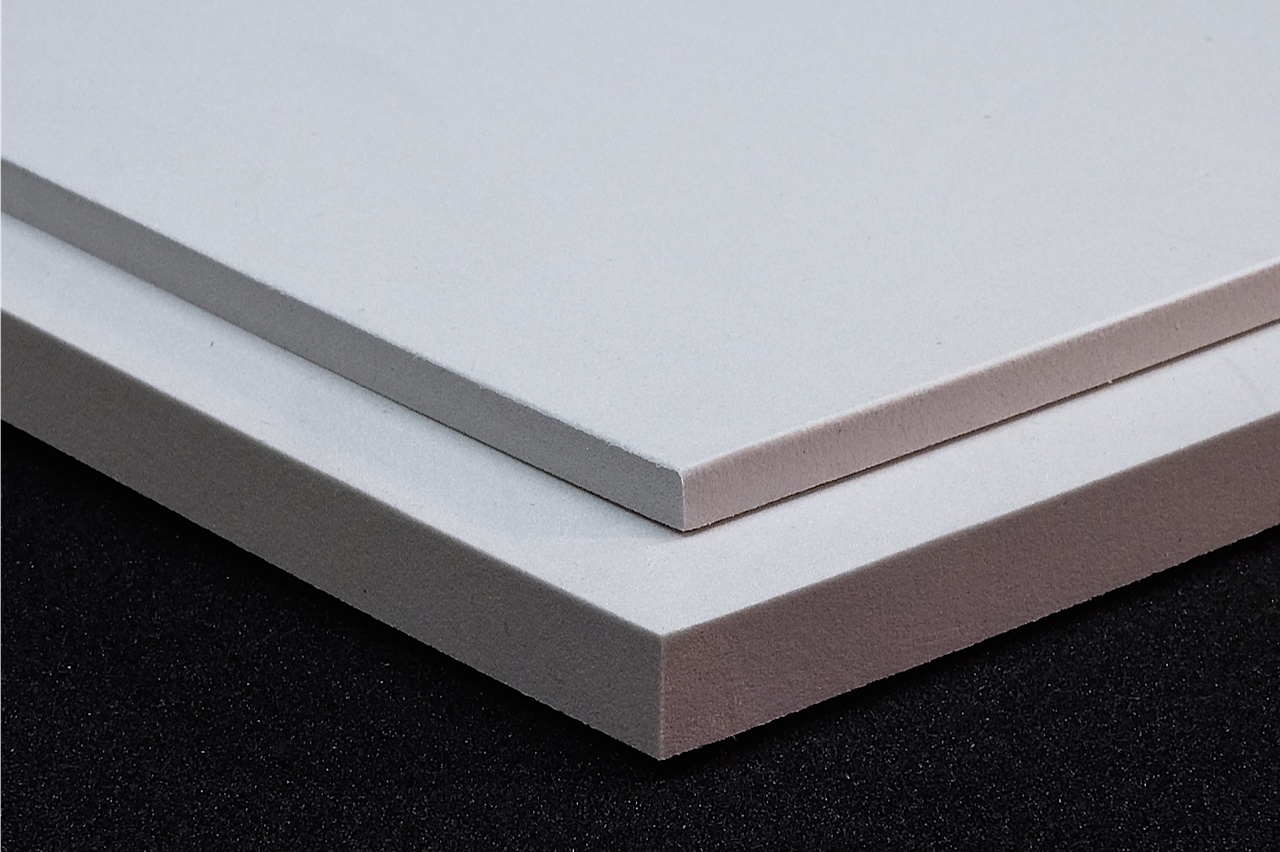
  1. EVA Foam

Ethylene-vinyl acetate foam is one of my favorite things to work with. EVA can be bought at most crafting stores. It is really cheap. In fact, EVA foam is the main material for most armor costumes.

The best thing about EVA foam is how easy it is to work with. It has varying thicknesses. It is also flexible enough to be formed into shapes you want. A knife and some super glue are enough for you to deal with. Some people making their props cost just a few dollars with this material.

However, it is difficult to fill in gaps and sand. You can never count on the foam to provide any sort of significant structural support.


There are many other materials that will be introduced to you next time.

Some Tips of Making Cosplay Props for Beginners.

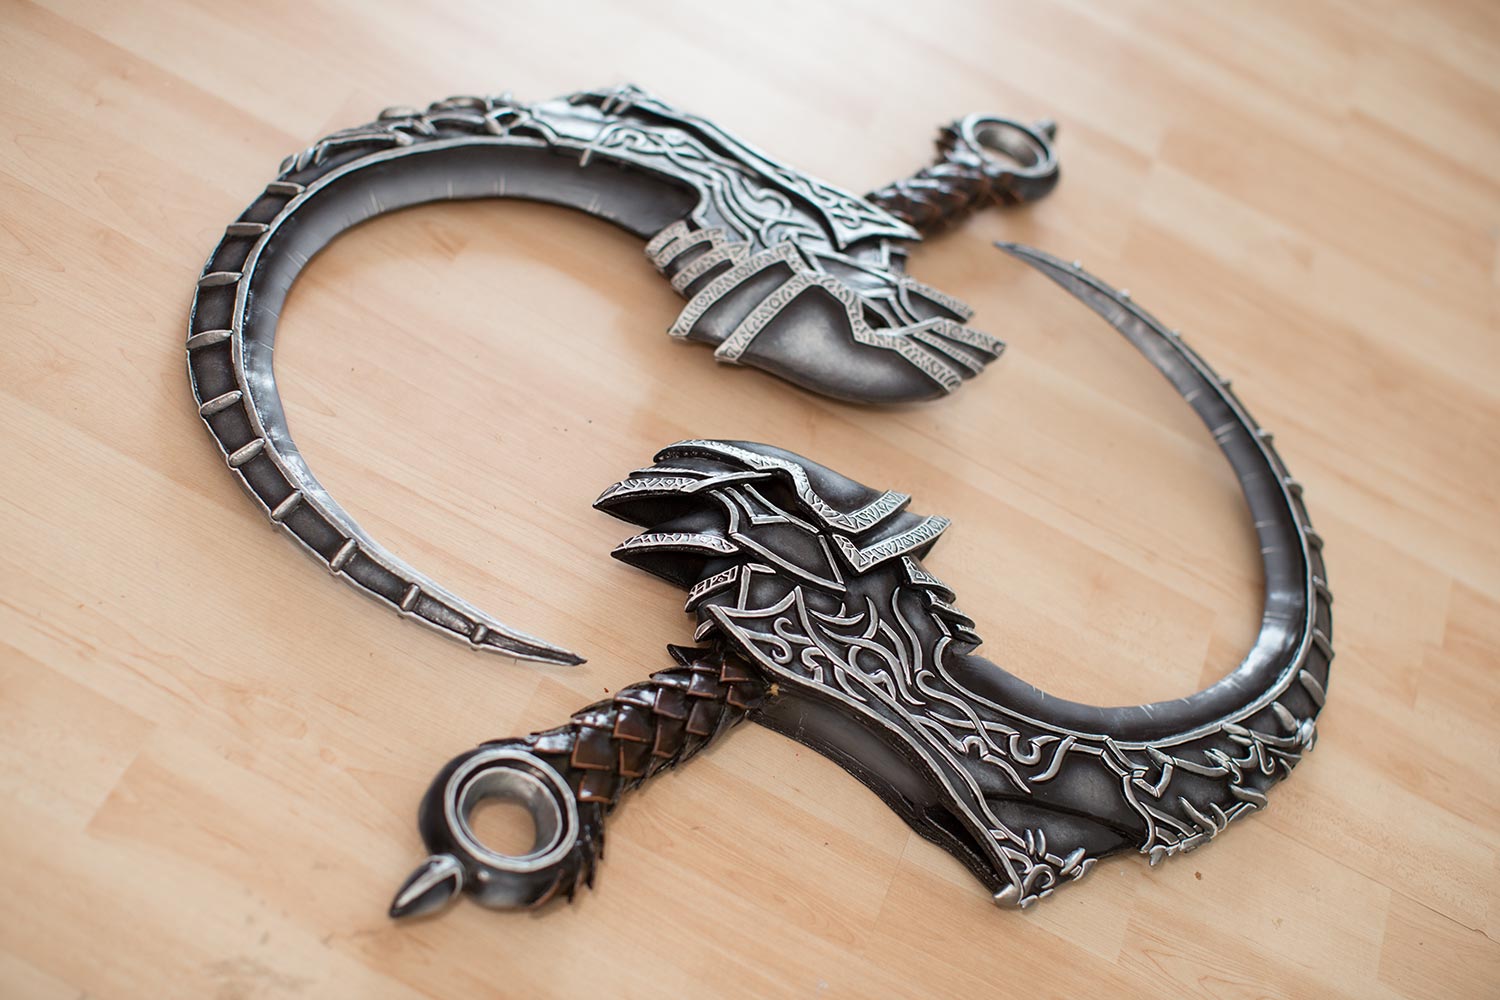
More and more cosplayers hope to make props by themselves. Here I collect some tips for beginners for you. I’m sure you would love to be one of them who can make those amazing costumes and props, but you have no idea where to start. That’s Ok! I’ll give you some tips on how you’re going to go from a noob to a amazing cosplayer!

Safety

Crafting can be a danger to you. There are many things that can hurt, poison, or even kill you. Please remember that safety is paramount! Here are some tips that will keep you safe during crafting.

  1. Read all warning labels on any type of chemical, resin, adhesive, or paint that you are using.
  2. Work in a well ventilated area when necessary.
  3. Buy a respirator and always keep the filters fresh.
  4. If things smell toxic, you’re doing it wrong.
  5. Loose clothing and long hair are crazy dangerous around spinning tools, keep tidy!
  6. A pair of safety goggles will save your eyes from damage. Normal Glasses are useless.
  7. A pair of leather gardening gloves will keep your fingers from getting lacerated, punctured, or burned from all but the most dangerous of tools.

Getting Started

Nobody goes to be a professional prop maker at the beginning of crafting, so pick something that is appropriate for your skill level. It’s OK for your first project to be something that doesn’t have a lot of detail. Don’t pick a project that is beyond your skill level. You may get frustrated and give up.

During your crafting if you find yourself way out of your depth, It is always the option to commission someone else to help finish something you’re having trouble with.

Budget your cost and time

Unless you have your daddy/momma’s support, you’ll probably use your personal income on your crafting. If you don’t have any tools, you will cost more dollars to get started. If your friend have tools, congratulations! You really can save a lot.

It happens a lot that you may end up accidentally destroying your project. It’s the fastest way to double your cost.

Add up your material and tool costs. Don’t forget to set aside some cash for your crafting. It is heartbreaking that you can’t afford the cost to finish it on the half way.

The other thing that you may cost a lot is the time. The best thing you can do is to make sure that you spend your time wisely. You may lose an entire day because of a mistake or accident. You need to learn from it and never do it again.

Budgeting your time becomes extraordinarily important if you have a deadline. Consider how long you think it might take to finish your project, and then double it. It avoids of ending up rushing it in the last week before complete it.

Gather Reference Images

Google Image Search is one of the best ways to collect images. The internet has provided so many images to you. Start there and filter by the largest images possible. Most of the time you will find everything you need. Jpegs are tiny, so download all the images! If this way is useless, you may turn to some other methods. Pulling screenshots from YouTube works is also a good way.


Next time, I’ll show you some materials that are usually used in crafting.